React 1: Intro to React, Props, and State
Introduction
Up to now you've learned HTML, CSS, and JavaScript. These 3 technologies form the basis of the web as we know it, and using just these 3 technologies, you can build any web-based software product you could imagine! Given that, what else is there to learn? Let me actually give you a list.
Frontend Technologies
- Frontend Frameworks
- Routers
- Component Libraries
- Package Managers
- Frontend/Backend Integration
Backend Technologies
- Databases
- Cloud Services
- REST APIs
- HTTP
- Postman
- Authentication
Misc.
- UI/UX
- HCD
- DevOps
Whew! That's a lot more than you probably expected, right? Well strap in, because in the coming sections we'll be covering all of these technologies, and prefacing even more. Let's get started by focusing on one of the coremost frontend technologies: React.js.
What is React?
React is a declarative, efficient, and flexible JavaScript library for building user interfaces. It lets you compose complex UIs from small and isolated pieces of code called “UI components”.
If that didn't make any sense, don't worry! I still don't even fully understand what that means. The use cases of React, as well as what exactly React is, will hopefully be answered as we dive deeper into React and how to use it. For now, all you need to know is that you use React to build frontends, it's based on JavaScript, and that it makes our lives A LOT easier.
Why use frameworks and libraries at all?
The biggest reason to use frameworks like React is to make your life as a developer easier. Frameworks tend to address a common set of concerns that "vanilla" HTML/CSS/JavaScript have, but each framework addresses them in its own unique way and has its own philosophy.
One of the biggest advantages to using a framework tends to be reusability. For example, every time you create a new page in your website, you have to copy paste in the same code for your navbar into each file, and if you want to make a small tweak to it, it has be repeated many times, once in each of your files. Frameworks help alleviate this problem, and many more related to data management, rendering, and the logic associated with different parts of our website.
Why use React?
React is by far the most popular frontend framework used today. In my opinion, it is also one of the easiest to work with and has a huge amount of online support.
A little bit about React:
- It's Open-Source (open source refers to software for which the original source code is made freely available and may be redistributed and modified.)
- It was created by Facebook (and is thus consequently used by Facebook, and many more companies you've probably heard of).
- It's very unopinionated about how your website should work beyond the basic core primitives of composing UIs. While this gives a ton of flexibility, it also means that there's no "one right way" to do many things in React, like routing between different pages on your site, or fetching data from a backend server. In this course, we'll try to stick to teaching React's core principles which are consistent across all types of projects.
Some other facts if you have some CS experience (these aren't important in this course, but cool to know):
- React fits very cleanly into the MVC model of development
- React is incredibly good at scoping and components – i.e., it is object oriented and does separation of concerns well.
- It's similar to Bootstrap and Jquery in that it's unrestrictive - you can use as much or as little of it as you desire.
- The biggest power of React, is its renderer. While Javascript is messy with how it handles dynamic re-render, React.JS is clean. Something that might take you 20 lines of code in JS takes you one in React.
Some last "technical" benefits to using React:
- Development Speed
- Combining HTML, CSS, and Javascript
- App Performance
- Testability
- Dynamic Rendering
- State
Cool Resources:
Why did we build React? - React Blog
Next.js Guide: From JavaScript to React
Why React: An Example
Before we dive into the details of React itself, let's first start by building some intuition on why we need React in the first place. This section will talk about working with the DOM, so if you need a refresher, feel free to pop over to Lesson 6 first.
Imagine we're trying to make a simple site that just displays the current date
when you load the page. The current date is ever-changing, meaning we can't just
hard-code it into our page's HTML. So how do we solve this? JavaScript, of
course! We can use the Date object in JS to dynamically create some text that
shows what day it is.
So, here's how that might look in the "vanilla" HTML/JS we've learned so far:
<!-- index.html -->
<html>
  <body>
    <div id="app"></div>

    <script type="text/javascript">
      // Select the div element with the id of "app"
      const app = document.getElementById("app");

      // Create a new paragraph element
      const header = document.createElement("p");

      // Create a new text node for the `p` element, and add the current date as its content
      const headerContent = document.createTextNode(new Date().toString());

      // Append the text to the `p` element
      header.appendChild(headerContent);

      // Place the `p` element inside the div
      app.appendChild(header);
    </script>
  </body>
</html>
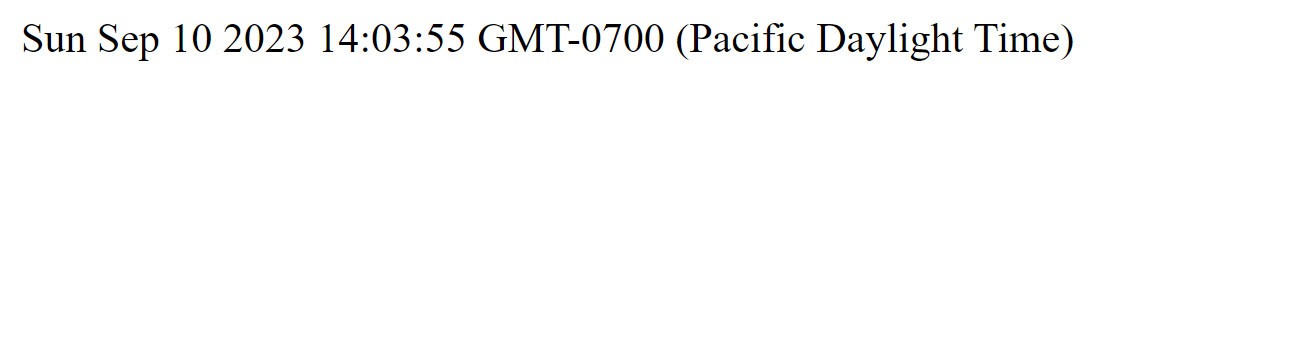
If you open this HTML file in a browser, you'll see that we get our date nicely displayed at the top of the page, even though we never explicitly included the date in the original HTML!
But there are two major problems with this approach:
- Manipulating the DOM with plain JavaScript is flexible, but quite verbose - notice how we used 5 lines just to simply add a single line of text to our page.
- This method is also an example of imperative programming - we're telling the browser step-by-step how to update the DOM to display some new HTML elements. But in reality, we mostly just care about the content our page should show - in this case, today's date - and the exact way that the browser makes this happen isn't too important. In this case, a declarative programming approach would make much more sense. You can think about imperative vs. declarative programming with the restaurant analogy: with an imperative approach, if I want to order some pasta, I would tell my server the exact list of ingredients they should use along with a detailed recipe for the dish, so that I can customize my pasta to my liking. Whereas with a declarative approach, I would just order a spaghetti carbonara, meaning the chefs get to decide exactly how to make the dish and my life is much easier!
React solves these two problems - it's a library that allows programmers to write UI in a declarative way, letting us use a lot less code to write complex functionality. To give you a taste of what our example above looks like in React, here's how we might write our date display as a React component. Don't worry if this looks a little funky - all will be explained soon!
function DateDisplay() {
  const date = new Date().toString();
  return <div>{date}</div>;
}
Installation
Now that we've understood how React can help us, let's get set up to use it. Make sure that Node and npm are installed on your computer - you should have installed Node and npm in the previous lesson. If you haven't, you can jump to the relevant section of the last reading by clicking here. If you have Node and npm installed, there are no extra downloads required to use React.
Getting started
Let's now create our very first React project. In today's world, the best way to get started with writing React is actually a little tricky to answer - even the official React docs have a multitude of options to choose from!
If you look up any starter React tutorial, almost all of the ones that were
published before ~2022 will tell you to use
create-react-app as a starting
point. Even this DeCal used to teach React with create-react-app. But this
project has since been deprecated in favor of other alternatives which are more
customizable, secure, and faster. In this course, we'll be using
Vite to run our React project because it's the simplest to
understand, but if you're curious, I'd recommend checking out
Next.js for a React framework which is more complex but
has quite a few nice features.
With that tangent about React's history out of the way, let's dive into actually creating our project. We can get started by creating a basic "boilerplate" file structure for our React app, via this terminal command:
npm create vite@latest -- --template react-swc
This creates a directory named vite-project (or whichever name you chose)
containing the boilerplate React code that's generated by Vite. If you open up
vite-project in VS Code via the command code vite-project, you'll see the
following:
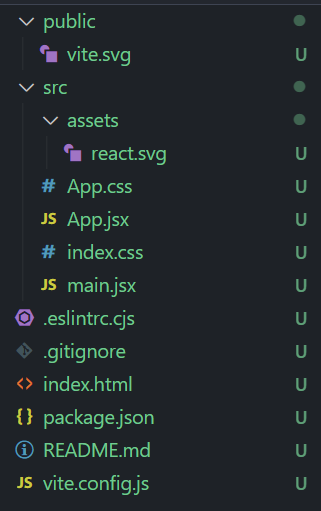
That's a lot to take in! We'll explain exactly what each of these files and folders represents in a typical React project soon, but first we'll dive into basic React principles and aim to move towards the bigger picture as we explain how React works.
Let's start up our project by running the following inside the root directory of our new React project directory:
npm install
npm run dev
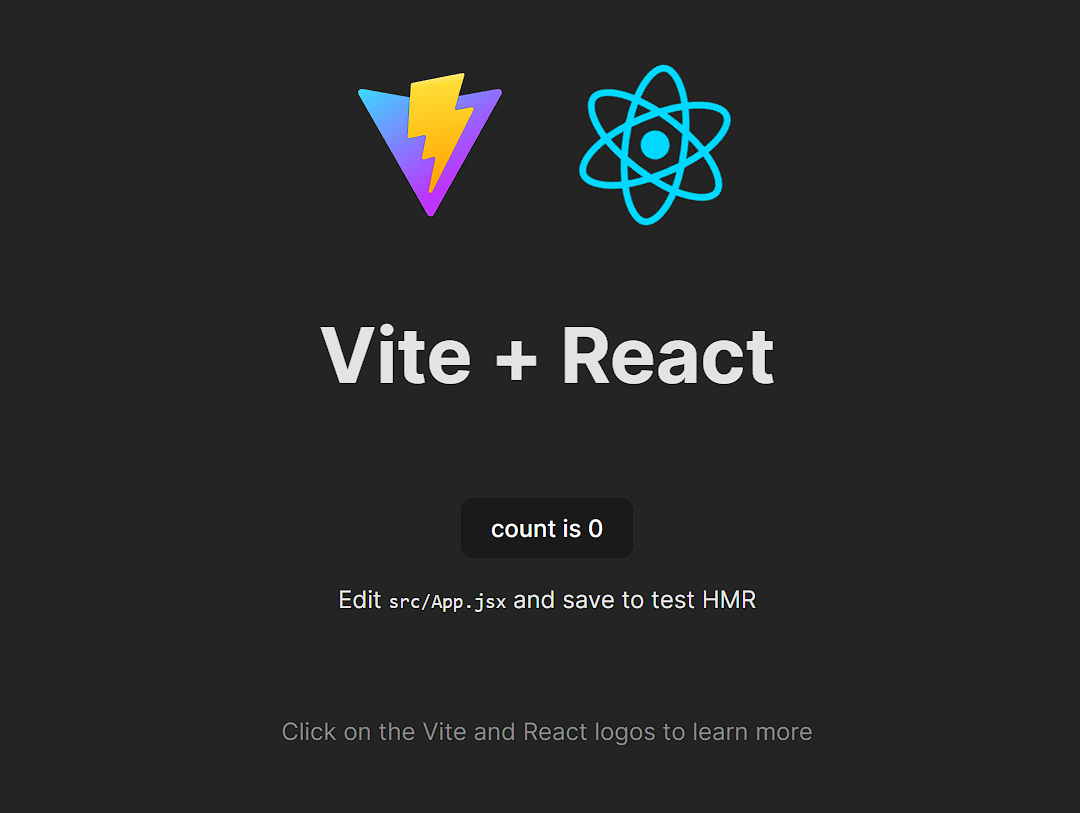
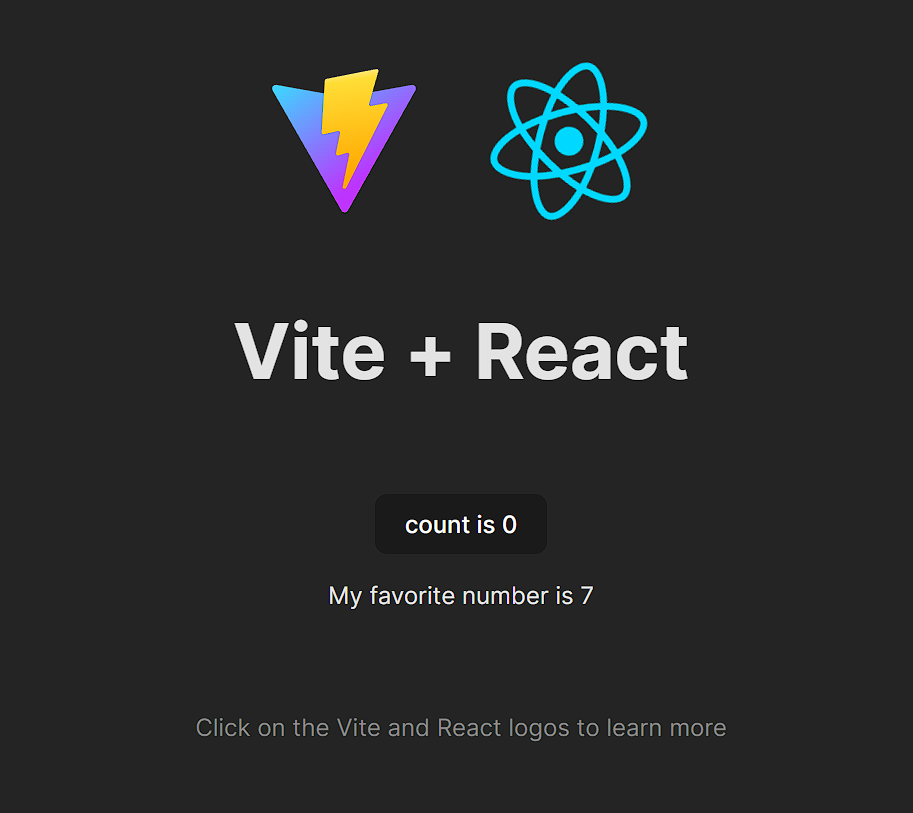
This does two things - it installs our project's dependencies using npm, and starts the Vite development server so that we can run our React app locally. After some time, you should see a message saying something like "ready in 500 ms" along with a localhost URL. Open up this URL, in your browser - it's usually localhost:5173. You should see the following:
By running npm run dev, we started up our React app, similarly to how we
opened up an HTML file to view our websites. Going forward, running a command in
the console will be how we run and view the output of our code.
Making Changes
Navigate to src/App.jsx. You should see the following. We'll explain each part
of this file soon, but for now, pay attention to what is being returned by our
function App.
import { useState } from "react";
import reactLogo from "./assets/react.svg";
import viteLogo from "/vite.svg";
import "./App.css";

function App() {
  const [count, setCount] = useState(0);

  return (
    <>
      <div>
        <a href="https://vitejs.dev" target="_blank">
          <img src={viteLogo} className="logo" alt="Vite logo" />
        </a>
        <a href="https://react.dev" target="_blank">
          <img src={reactLogo} className="logo react" alt="React logo" />
        </a>
      </div>
      <h1>Vite + React</h1>
      <div className="card">
        <button onClick={() => setCount((count) => count + 1)}>
          count is {count}
        </button>
        <p>
          Edit <code>src/App.jsx</code> and save to test HMR
        </p>
      </div>
      <p className="read-the-docs">
        Click on the Vite and React logos to learn more
      </p>
    </>
  );
}

export default App;
Hmmm. What's being returned looks exactly like what's being rendered on our
browser! Lets try changing the line that says
Edit <code>src/App.jsx</code> and save to reload. such that it reads
Hello World!. Now save the file and navigate back to your browser. Your screen
should now look like this. if it doesn't then give it a couple seconds and make
sure that you saved your changes to App.jsx.
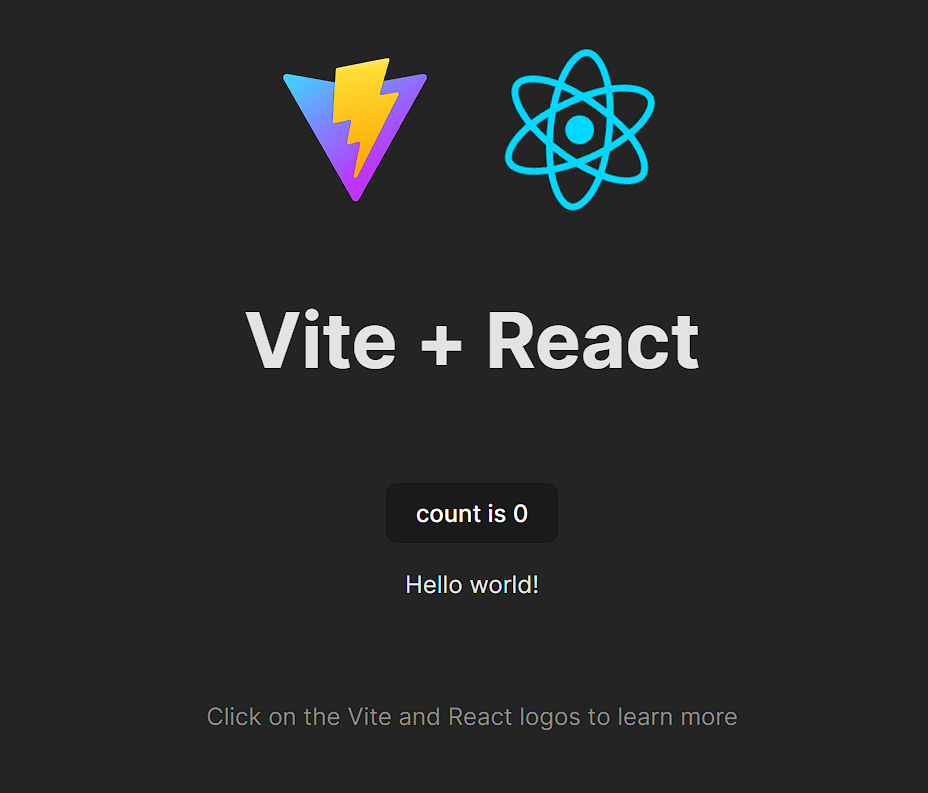
We've just made a change to our website without having to reload it! This is a pretty nifty feature of Vite called hot reloading. This feature already makes our lives much easier, and all we needed to do was start using some of the cool tools at our disposal when working with React!
Looking at App.jsx
As you've probably figured out, whatever is returned by our function App is
what will show up on our screen, and that our function has to return some form
of HTML. There are a few differences, but we'll go over them shortly. First of
all, let's address something you may have noticed: what's with the .jsx file
extension, and why does our file look like a funky mix of JavaScript and HTML?
The answer is that App.jsx is actually written in JSX, which is an extension
of JavaScript: it essentially allows us to write HTML inside of JavaScript,
which is super powerful when developing UIs with React. Since JSX is pretty much
just a combination of the HTML and JS we've already learned, there's almost no
new syntax you have to learn, besides just making sure to follow the
rules of JSX.
The addition of JSX is actually one of the main reasons why we need a tool like Vite - browsers don't understand this nifty JSX code, so we need an extra step to convert our JSX into raw HTML and JS. Vite handles that for us, so no need to worry about how it works!
Generally speaking, all React JSX files should export a JavaScript function which returns some HTML elements - these are called components. You may also see class components used in older documentation online (as opposed to the "function components" we have here), but since these have been mostly phased out by React, we won't be covering them. We'll get into what exactly components are very shortly, but for now, this is a good working definition.
As you can see in App.js, we define a function App that returns some HTML.
We then export default our function at the bottom of our file, which is a
common practice with React components. Don't worry too much about what
export default means and export vs. export default. We will cover that
later. Just know that by having export default App at the bottom of our file,
we are exporting our function App so that it may be used by other files in our
application.
Now lets go to the top of App.jsx and look at the following.
import viteLogo from "/vite.svg";
import "./App.css";
This is how we import anything into our React component. Looking at our files,
we can see App.css. In order to use the CSS in App.css, we don't need to use
a style tag like we used to. Instead, we can simply import its
relative path
into our component. As for images, we no longer need to put the path of the
image into the src attribute of our img tags. Instead, we can just import
them using their path relative to the public directory, and use the import
value itself as our image's src attribute. This is probably a bit confusing
now, but a lot of learning React is simply learning the correct syntax, and
learning why we use that syntax will come with time.
Looking further down, we see that our img tag looks like the following:
<img src={viteLogo} className="logo" alt="Vite logo" />
Notice how we have curly brackets around the src attribute. Using curly
brackets, we can pass in variables to our HTML. More on this later.
Lastly, I'd like to point out the fact that our code uses className instead of
class when trying to use classes to specify the CSS that is being applied to
each HTML element. This is simply because class is a reserved word in
JavaScript, and since we are writing our HTML in a JavaScript file, we have to
make this small change in order for our code to work properly.
Variables in Our Code
Lets dive deeper into {logo}. One powerful feature of React is that we can use
variables in our code simply by surrounding the variable name with curly
brackets! Lets take an example. Define the following in App.js, right above
our return statement.
const myFavoriteNumber = 7;
And so we've defined a new variable that we can use in our App function. But
how can we display this data in our browser? Sure, we could replace our current
"Hello World!" with "My favorite number is 7", but what if we're really
indecisive and our favorite number changes daily? Alternatively, what if we want
to let the user have their own favorite number be displayed in the browser? We
could use JavaScript and some DOM methods to do this, but React makes this task
much easier.
Lets go down to the following line we edited earlier:
<p>Hello World!</p>
and replace it so that it uses our new myFavoriteNumber variable. Now it
should look like the following.
<p>My favorite number is {myFavoriteNumber}</p>
Lets go back to the browser and see what's happened.
Viola! We've successfully used a JavaScript variable in our HTML code. Play
around with the value of myFavoriteNumber and make sure to save App.js each
time before going back and checking your browser. You'll see that what's shown
on your screen will reflect whatever value your variable holds. This capability
extends to introducing any logic into your HTML. For example, you could do the
following.
<p>My favorite number is 7</p>
<p>My favorite number {"is " + "7"}</p>
<p>My favorite number is {3 + parseInt("4")}</p>
<p>My favorite number is {(myFavoriteNumber * 2) / 2}</p>
These snippets will all result in the same thing being shown in the browser. We've learnt a powerful way to combine JavaScript, HTML, and CSS.
To recap, our App.jsx should now look like the following.
import { useState } from "react";
import reactLogo from "./assets/react.svg";
import viteLogo from "/vite.svg";
import "./App.css";

function App() {
  const [count, setCount] = useState(0);
  const myFavoriteNumber = 7;
  return (
    <>
      <div>
        <a href="https://vitejs.dev" target="_blank">
          <img src={viteLogo} className="logo" alt="Vite logo" />
        </a>
        <a href="https://react.dev" target="_blank">
          <img src={reactLogo} className="logo react" alt="React logo" />
        </a>
      </div>
      <h1>Vite + React</h1>
      <div className="card">
        <button onClick={() => setCount((count) => count + 1)}>
          count is {count}
        </button>
        <p>My favorite number is {myFavoriteNumber}</p>
      </div>
      <p className="read-the-docs">
        Click on the Vite and React logos to learn more
      </p>
    </>
  );
}

export default App;
Components
We've used the term component a lot in the last few sections, and now it's finally time to explain what exactly that means. Conceptually speaking, a component is a building block of UI which can be easily reused and combined with other components to create your website. It's similar to how we can use JavaScript functions as a unit of code reuse - each function has a certain functionality, and by combining functions in clever ways, we can make complex JavaScript logic.
Similarly, in a website, you may want to make your navbar a component since it's used on every page. If you're building a social media platform, you may want to make a generic Post component that can display different information depending on the post, but still share the same styling and HTML structure between all the posts.
Going further into the social media example, think about writing the entirety of Facebook in one JavaScript file. That would be a lot of code in one place! This is where components come in handy. We can make a Post component, a Reply component, a Navbar component, a Profile component, etc., and each component can handle its own data and logic. For example, the User Profile logic and the Post logic could be completely different, so seperating them into components makes it easier to manage your code.
In App.jsx, we have created a component called App. We did this by defining
a function called App which returns JSX, and exporting that function App.
Our App function can have whatever logic you need it to contain, but it must
return JSX. How do we use these components? Good question! To answer this, lets
try creating a new component called Button, and then using it in our newly
created React App.
Creating Components
To create a brand new component, let's start by creating a new file called
Button.jsx. Remember that to create a React component, we have to create a
function that returns JSX. We then export default that new component. Lets
create a bare bones button component using what we've seen so far.
const Button = () => {
  return <button>Cool Button</button>;
};

export default Button;
One small detail to note is that here we defined our Button component as a
JavaScript arrow function, vs our App component used a more traditional
JavaScript function syntax. Both are functions in JavaScript, and either is
valid when creating components!
Now that we have a button component, but if we look at our browser, it doesn't
show up anywhere. This is because we haven't included it in our App.jsx file.
In the structure of our new React project, everything you want to be shown in
the browser must be included in your App.jsx file. We can use our new Button
component in App.js by importing it like so at the top of our App.js file.
import Button from "./Button";
Notice how we didn't need to import from "./Button.jsx", and were able to
leave out the ".js". This is a small feature of React, where we can just import
the file names of JavaScript files and can leave out the ".js" or ".jsx" part of
the filename. Howeveer, other file types have to be written in full, as we see
with our import './App.css' statement.
Using Components
We've now imported our Button component into App.js, but how do we actually
use it? Here's the cool part of using React, and what sets JSX apart from plain
HTML - we can use our Button component as we would a regular tag! If that
doesn't make total sense, lets look at an example.
<Button />
This is basically equivelent to writing the following.
<button>Cool Button</button>
But now we've been able to simplify how much code we need to write. This is a
pretty small example, but let's say we want to create a Navbar component - it
would be a lot easier to write all the HTML for a Navbar in it's own file, and
then simply add import Navbar from './Navbar' and then just add <Navbar />
to your main file (which in our case is App.jsx), compared to writing all that
HTML in one file!
Another benefit is reusability. Continuing out the button example, let's say
that I want 3 buttons in my website, and I want them all to say the exact same
thing. One way to do this is to use the regular html button tag 3 times and
update each tag if I want to make a change to my button's text. But, if we were
to instead use the Button component we've just made, changing all 3 buttons
would simply consist of making 1 edit to our Button component. Pretty neat,
right! Now imagine you had 1000 buttons all across your site. As we'll show
later, even if they're slightly different, we still only need 1 component for
all of these buttons, and consequently only need to make changes to one file if
we want to change the buttons on our site.
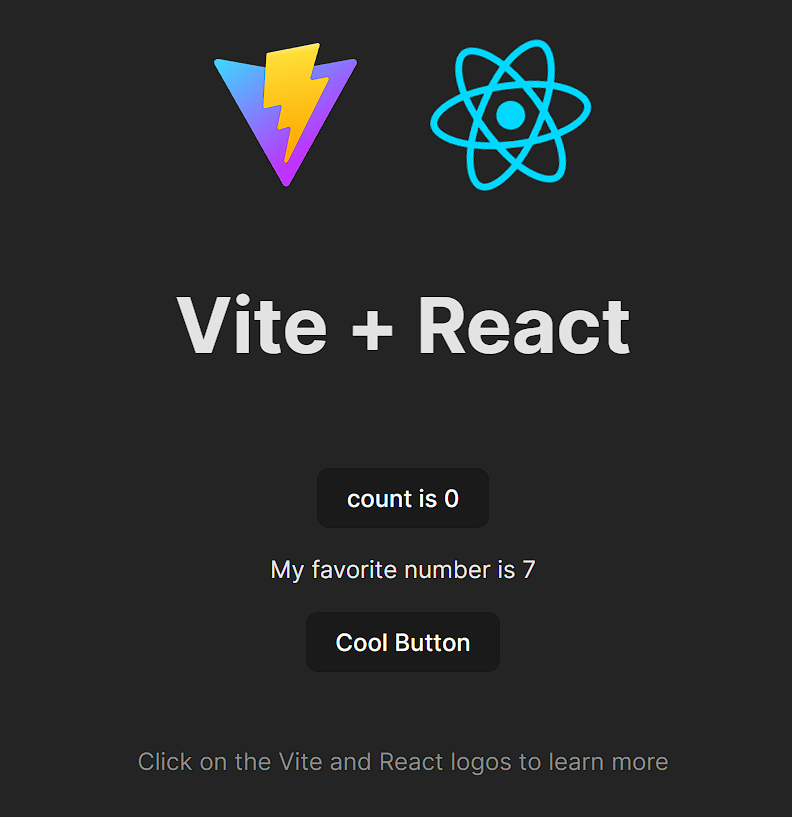
Let's go through one example of what using our Button component may actually
look like inside of our new website. Lets add our Button component to
App.jsx. Your App.jsx should now look like the following.
import { useState } from "react";
import reactLogo from "./assets/react.svg";
import viteLogo from "/vite.svg";
import "./App.css";
import Button from "./Button";

function App() {
  const [count, setCount] = useState(0);
  const myFavoriteNumber = 7;
  return (
    <>
      <div>
        <a href="https://vitejs.dev" target="_blank">
          <img src={viteLogo} className="logo" alt="Vite logo" />
        </a>
        <a href="https://react.dev" target="_blank">
          <img src={reactLogo} className="logo react" alt="React logo" />
        </a>
      </div>
      <h1>Vite + React</h1>
      <div className="card">
        <button onClick={() => setCount((count) => count + 1)}>
          count is {count}
        </button>
        <p>My favorite number is {myFavoriteNumber}</p>
        <Button />
      </div>
      <p className="read-the-docs">
        Click on the Vite and React logos to learn more
      </p>
    </>
  );
}

export default App;
Make sure to save your file and go back to your browser. You should now see the following.
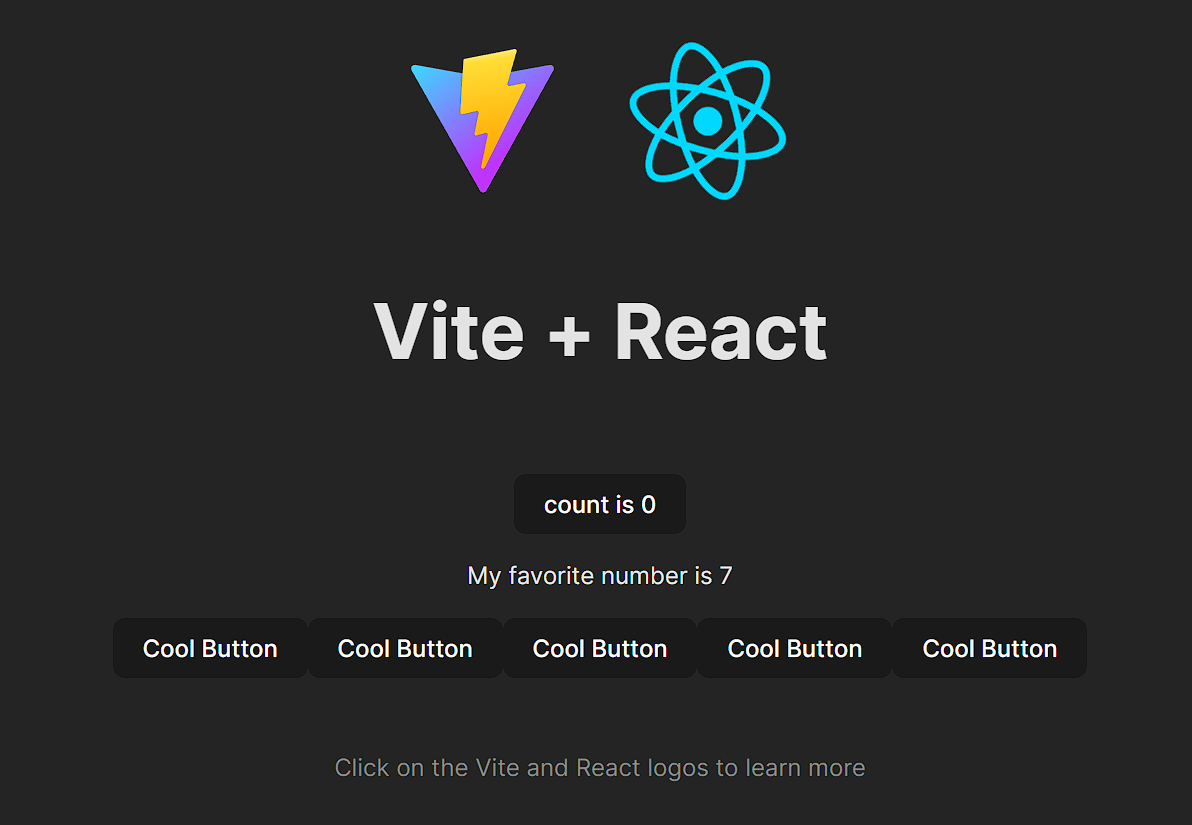
What if we wanted a bunch of buttons in our app? Instead of writing
<button>Cool Button</button>
<button>Cool Button</button>
<button>Cool Button</button>
<button>Cool Button</button>
<button>Cool Button</button>
we can simply use our Button component like so.
<Button />
<Button />
<Button />
<Button />
<Button />
We should now see the following.
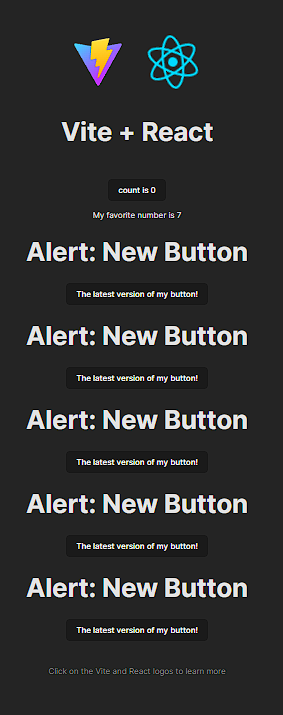
Here's where a big part of React's power comes in - we can change all of our 5
buttons by only making edits to our Button.js file! Lets make some changes to
Button.js and make it a bit more complicated. Let's have our Button
component return the following.
<div>
  <h1>Alert: New Button</h1>
  <button>The latest version of my button!</button>
</div>
Save the file, and go back to the browser to see the changes you've made! While
you won't be able to see all of the Button components on your screen at once,
they're all there! Just scroll a bit and you'll see all 5.
Rendering to HTML
We might have said that everything in App.jsx is what's shown in your browser,
but we actually lied (sorry). In reality, everything in main.jsx is what's
displayed in your browser. Open up main.jsx in your IDE. You should see the
following.
import React from "react";
import ReactDOM from "react-dom/client";
import App from "./App.jsx";
import "./index.css";

ReactDOM.createRoot(document.getElementById("root")).render(
  <React.StrictMode>
    <App />
  </React.StrictMode>
);
Let's dissect this. We're importing a couple different things here:
- The React library itself, so that we can use it in our project.
- Our
App.jsxcomponent which contains all of our website's actual content - A CSS file called
index.css- this is a "global" CSS file that applies styles to all components in our app even if they don't importindex.cssthemselves - similar to the way a<style>tag works in regular HTML
skipping around a bit we see import './index.css';. No surprise there either,
just importing a CSS file to use. Let's look at the line after that.
import App from "./App";
Looking at the rest of main.jsx, though, it doesn't look like we're creating a
new component. This is because in main.jsx we're actually telling React to
"render" all of our components (in this case, just the App component) in the
browser.
ReactDOM.createRoot(document.getElementById("root")).render(
  <React.StrictMode>
    <App />
  </React.StrictMode>
);
In the code above you see that our App component is wrapped in a
React.StrictMode tag. By wrapping a component in React.StrictMode, all we've
done is make it so that we receive a warning if React detects that there might
be potential problems with the code we write or any imports we use.
Now we'll explain what the line document.getElementById('root') does, and why
we pass it in to ReactDOM.createRoot().render(). First, a question - How do
you think we're able to get all of our fancy JavaScript and JSX to show up in
our browsers, when HTML and CSS are supposed to be what shows up on your screen?
We just create an HTML document with a single div with id="root", and then
use our magical ReactDOM library to convert all of our JSX into plain HTML, and
then insert that HTML into our main HTML document! If that seemed like a lot,
let's take a look at what we're talking about.
Navigate to index.html at the root of our project. You should see a regular
HTML file, similar to the one's we've worked with in the past. If you scroll to
the body of our HTML document, you'll see <div id="root"></div>. Our
ReactDOM.createRoot function essentially just compiles all of our React code
into HTML, which is the first argument we pass it, and then puts it into a div
in an HTML file, and this HTML file is actually what's being displayed in our
browser. The actual rendering process is a bit more complicated than this, but
if you're curious, check out the
render and commit docs.
Don't worry about what's going on in main.jsx too heavily. We explained a bit
of the details here, but you'll rarely ever need to make changes to this file.
Viola! We've covered a lot of ground, and now understand how to create and use components, as well as gaining a rough understanding of how our React code is rendered in the browser. Strap in, however, because that's just the start of what React can do.
Props
The next big React concept we'll cover is props. Props are basically a way to pass in data to your components. For example, what if you want all of your 5 buttons to have the same styling, but say different things? Instead of manually creating 5 different buttons using HTML and not using components, or god-forbid, creating 5 different button components, we can use props to stick with just one button component, even though we want all of our buttons to look different in our browser.
props is short for properties!
The way we pass in props and use them is fairly simple. We can pass props to one
of our components the same way that we pass in an attribute to a regular HTML
element. For example, we want our Button component to have a prop (property)
called text, which tells the button what text it should display. We can achieve
that by doing the following.
<Button text="What I want my button to say!" />
Nice! Now we've successfully given our Button component a prop called text.
Now how do we use it? Let's go back to our old Button component.
const Button = () => {
  return <button>Cool Button</button>;
};

export default Button;
To use props in Button, we can accept a props parameter in our function:
const Button = (props) => {
  return (
    <div>
      <button>Cool Button</button>
    </div>
  );
};

export default Button;
We can now access all the props that we pass into our Button component when we
use it! Let's access our text component like so. Remember that we can use
variables in our HTML by adding {} around them.
const Button = (props) => {
  return (
    <div>
      <button>{props.text}</button>
    </div>
  );
};

export default Button;
Now let's say that we pass in a title prop into our Button component.
<Button text="example text" title="Cool Button">
We can then use it in a similar manner.
const Button = (props) => {
  return (
    <div>
      <p>{props.title}</p>
      <button>{props.text}</button>
    </div>
  );
};

export default Button;
Hopefully this example makes sense! To solidify that this works, let's try
creating 3 different buttons in our App.js that all say different things, but
all using our improved Button component. While we're doing so, let's clean up
our App component a bit.
import "./App.css";
import Button from "./Button";

export default function App() {
  return (
    <div>
      <header>
        <Button text="wow," title="First Button" />
        <Button text="props are" title="Middle Button" />
        <Button text="so useful!" title="Last Button" />
      </header>
    </div>
  );
}
Save your file and go back to the browser. You should see the following.
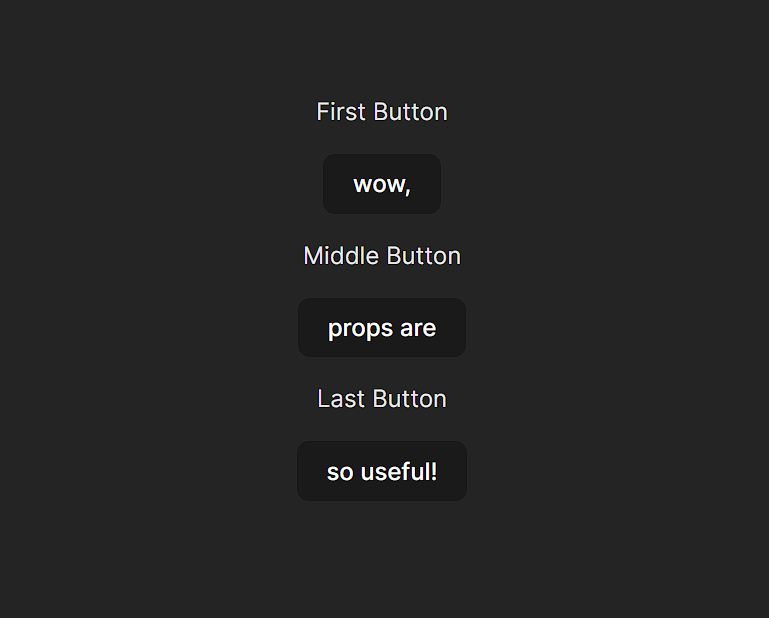
Congrats! You've successfully learned the basics of props in React.
Please note that props are immutable. What this means is that trying to do
something like props.text = "new text" inside of your Button` component will
cause an error. More generally, trying to change your props inside of the
component that those props are being passed to will cause an error.
State
There are 2 main ways of passing around data in your new React app. The first one is props, which we introduced above, and the second one is state.
State vs. Props
Let's go back to our house analogy to conceptualize the difference between state
and props. Let's focus on our door. The color of our door is a property of
our door. This is, for the most part, hard to change, and only needs to change
depending on our house. For example, say we create a House component, and
we're trying to build a neighborhood. We might want to make doorColor a
property that we pass into our House component. State, however, is meant for
more dynamic changes. In this example, you could think of whether the door is
opened or closed as the state of the door. This is something that is easily
changeable, and says more about the state of the door than the door itself. It
doesn't matter what the properties of the door are - all doors open and close.
Introduction to Hooks
When we want to manage state within React (which you'll learn about extensively in the coming React lessons, examples, and labs), we use hooks. As contained within the term, state management has to do with controlling the state.
Going back to our door example, If we want to create a button to open or close the door, or just in general record when the door has opened or closed, we would use a hook to keep track and even change the state of the door. Using a more concrete web development example, let's say that we want to keep track of a user's account balance in some sort of banking website or web app. Using React speak, the user's balance wouldn't be a property of their account, since it's dynamic and can change often. The balance would instead be part of the state of the account. An example of a prop that the account might instead have is it's account number, name, and other things that aren't dynamic and instead a mostly unchanging property of the account.
useState
Now that we've explained the concept behind state in React, let's demonstrate how we can actually use it! To do so, we'll make a simple app that counts the number of times that our user has clicked a button.
Setup
Before getting started, let's clean up what we currently have a bit. Please make
sure your App.jsx looks like the following.
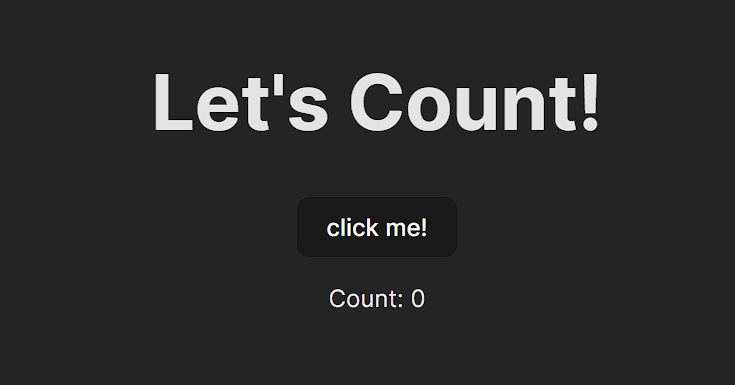
import "./App.css";

export default function App() {
  return (
    <div>
      <header>
        <h1>Let's Count!</h1>
        <button>click me!</button>
      </header>
    </div>
  );
}
You should see the following.

Importing Hooks
You can think of a React "hook" as function given to us from the React library
which allows us to "hook into" one of React's core features. Now, in order to
use state, we have to import and use the useState hook in our app. We can
import useState by adding the following at the top of our App.jsx file.
import { useState } from "react";
In general, this is how we import hooks in React. If we wanted to import the useEffect and useMemo hooks as well (which you don't need to worry about), you would do the following.
import { useState, useEffect, useMemo } from "react";
Using Hooks
Let's figure out how to turn our currently nonfunctional button into a counter.
If you played around with the default Vite template, you might've noticed that a
counter button was already created for us, but we'll learn how to build this
functionality from scratch! We would need to have a count variable to figure
out how many times that our button has been clicked, and we'd also need a
function to increase the number of times that our button has been clicked. We
want this function to be called whenever the button is clicked.
Let's add these into our code like so.
import "./App.css";

export default function App() {
  let count = 0;

  function updateCount() {
    count += count + 1;
  }

  return (
    <div>
      <header>
        <h1>Let's Count!</h1>
        <button>click me!</button>
        <p>Count: {count}</p>
      </header>
    </div>
  );
}
Next, let's make sure that our updateCount is called every time our button is
clicked. To accomplish this, simply pass our updateCount function into the
onClick attribute of the button like so.
<button onClick={updateCount}>click me!</button>
Notice that in JSX, just as we can pass variables into the content of HTML
elements using {curly braces}, we can use them to pass in variables as props
or HTML attributes as well. You should now see the following.
Try clicking your new button. If you're confused about why your counter isn't going up, you've just run into the problem of rendering, an incredibly important React, and frontend concept. Rendering is an incredibly complicated topic within the frontend space, so we'll try to keep it simple in this lesson.
Recall from earlier that "rendering" in React refers to the process of turning our JSX code into the HTML and CSS pages that we can view in the browser. But when pages need to be interactive or things on screen need to change, it turns out that constantly creating and updating HTML elements using the DOM would slow down our app a lot, so React does everything it can to minimize re-rendering.
When a component re-renders, you can think of it as our function component being "called again", which should return the new JSX for the changed element. Given this definition, we can see there are two issues with the way we're currently keeping track of our counter's state:
- In JavaScript, variables declared inside functions ("local variables") don't
persist when the function is called again. In this case, each time our
Appcomponent is re-rendered,countis redefined as a completely new variable, and its updated value is lost! - As stated earlier, React does everything in its power to avoid re-rendering
components when it thinks nothing on screen has changed. In this case, React
doesn't know that the
countvariable has updated, so a render isn't triggered - we need an explicit way to tell React that the count has changed.
The solution to these problems is React's concept of state. Going back to our
App.js, let's change it up to use state:
import { useState } from "react";
import "./App.css";

export default function App() {
  const [count, setCount] = useState(0);

  return (
    <div>
      <header>
        <h1>Let's Count!</h1>
        <button>click me!</button>
        <p>Count: {count}</p>
      </header>
    </div>
  );
}
Let's take a closer look at the following line.
const [count, setCount] = useState(0);
Let's break down what we see above. Using the useState hook, we've created 2
variables, count and setCount. This slightly funky syntax is called
array destructuring,
and it's just a special way to set the value of multiple values from an array.
In this case, when we call the useState hook it returns an array with 2
values: the current value of our state, and a function to set the state to a new
value. We use array destructuring to define count as the state value, and
setCount as our "state setter" function.
With the useState hook, whatever value we pass into the useState hook is the
initial value of the state variable we're defining. Here we passed in 0 into
useState, so count starts off being equal to 0. To solidify this, let's look
at one more example.
const [name, setName] = useState("Joshua");
Here, I'm creating a state variable called name that is initialized to the
value "Joshua". Thus, if I used the name variable in my JSX code, it would
show up as "Joshua". Notice how our state variable and state setter can be
called whatever we want, just like regular variables - but the convention is to
use a descriptive name for your state variable, and add set in front of it for
our setter function.
Why do we even need a setter function, anyway? Well, if we tried using
count = count + 1 to update the state value, we'd run into the same problems
as before: React doesn't know about any local variables which we changed, and
the value of the count local variable would still be lost on a re-render.
Instead, we have to use a setter function tied to that variable. This
function will both update React's internal memory of the state value, and also
signal to React that the component needs to be re-rendered in order for our
updated value to show up.
To use a setter function, simply pass in the new value for our state. For
example, calling setCount(5) would se our count variable equal to 5. Calling
setCount(-999) would make count equal to -999.
Going back to our name example for some more clarity, let's say we have
const [name, setName] = useState("Joshua") as before. If the name variable
represents our username in a game, we might want to change it later. Let's say
we want to change it to "reactgod007". We simply call setName("reactgod007)
and now our name variable is equal to "reactgod007".
We want to increase our count variable by 1 every time our button is clicked,
however, and not just set count tosome static value! Thus, all we need to do
is call setCount(count + 1). This would set the value of our count variable
equal to the old value of the count variable plus 1. Adding this logic into
our updateCount function, we get the following.
import { useState } from "react";
import "./App.css";

export default function App() {
  const [count, setCount] = useState(0);

  function updateCount() {
    setCount(count + 1);
  }

  return (
    <div>
      <header>
        <h1>Let's Count!</h1>
        <button onClick={updateCount}>click me!</button>
        <p>Count: {count}</p>
      </header>
    </div>
  );
}
Congrats! Every time you click your button, you should see the counter increment by 1. You've made a full-fledged counter!
Calling onClick with Parameters
Let's also look at one last way to accomplish what we did above.
Instead of creating a new updateCount function to call our setCount function
every time our button is clicked, we can call our setCount function directly
from our button like so.
<button onClick={() => setCount(count + 1)}>click me!</button>
What we've done is create an arrow function that, when called, calls
setCount(count + 1), which increments the counter by 1 just like before. This
is usually preferable to defining an extra function like updateCount, since
the logic to update our state is pretty simple, and directly passing an arrow
function is more concise.
Some Useful Tools
Whew, that was definitely a lot to take in! While this may seem like a somewhat straightforward application, you've learnt a LOT in this lesson. To recap, you've learned the basics of components, JSX, props, and state in React. Using these fundamentals, you can build almost anything you want!
As you start using powerful tools like React and your apps get more complex, it's more important than ever to keep quality high when writing code. Or at least that's how I sell ESLint and Prettier. In reality I'm super lazy and want the machine to do as much work as possible so I can focus more on architecture and problem-solving and less on syntax and style. While there are many tools that can help you keep code quality high, these two I consider core to my workflow.
Prettier
Prettier is an amazing tool from the brain of James Long. James, like many of us, was sick of having to constantly worry about the style of his code: where to stick indents, how many, when to break lines, etc etc. Coming from languages like Go, Reason, or Elm where all that is just taken care of by the tooling for the language, this quickly wears. James did something about it and made a tool to take care of it: Prettier.
Prettier is a really fancy pretty printer. It takes the code you write, breaks it down, throws away all of your code style you made and prints it back out using a predefined style. While this sounds a little scary, it's actually really cool. Since you no longer have control of the style of your code, you no longer have to think about it at all. Your code is always consistent, as is the code from the rest of your team. No more bikeshedding!! As I like to put it: if your brain is a processor, you get to free up the thread of your brain that worries about code styles and readability: it just happens for you. Don't like semicolons? Don't write them! It puts them in for you. I love Prettier.
Trust me. Use Prettier. Don't write messy code. This is MANDATORY.
Let's go integrate this into our project.
Either install Prettier globally npm install --global prettier, or use the
VSCode extension.
I would recommend using the VSCode extension if you are using Visual Studio Code
as your primary IDE (which I also highly, highly, recommend).
If you're using the VSCode extension, set it to only run Prettier when it
detects a Prettier config file. Makes it so you never have to turn it off. In
order to do that, set prettier.requireConfig to true and
editor.formatOnSave to true. This can be done in the VSCode settings.
How to access VSCode Settings
- Windows Users
File > Preferences > **Settings** - Mac Users
Code > Preferences > **Settings**
So that our IDE can know to use prettier, we're going to create a file called
.prettierrc in the root of our project and put {} in it. Your .prettierrc
file should be on the same level as package.json and your README file. This lets
everyone know this is a Prettier project that uses the default configuration.
You can put other configs here if you hold strong formatting opinions.
ESLint
On top of Prettier, which handles code formatting for us, you may want to
enforce some code styles which pertain more to usage: for example you may want
to force people to never use with which is valid JS but ill advised to use.
ESLint comes into play here. It will "lint" for these
problems. Essentially, it will yell at you when you make mistakes like these by
underlining your code in red or yellow, depending on the severity of the
mistake.
If you've combed through the Vite starter template, you may have noticed that we
have a .eslintrc.cjs file predefined - this is where we can configure ESLint's
functionality. Let's run npm install -D eslint eslint-config-prettier in your
console while in your project directory to install ESLint in your project
development dependencies, and update the ESLint config to look like this:
module.exports = {
  root: true,
  env: { browser: true, es2020: true },
  extends: [
    "eslint:recommended",
    "plugin:react/recommended",
    "plugin:react/jsx-runtime",
    "plugin:react-hooks/recommended",
    "prettier",
  ],
  ignorePatterns: ["dist", ".eslintrc.cjs"],
  parserOptions: { ecmaVersion: "latest", sourceType: "module" },
  settings: { react: { version: "18.2" } },
  plugins: ["react-refresh"],
  rules: {
    "react-refresh/only-export-components": [
      "warn",
      { allowConstantExport: true },
    ],
    "react/prop-types": "off",
  },
};
There are dozens of preset configs for ESLint available online, and you're
welcome to use any one of them. In this case, we're just modifying the existing
one since it's a pretty solid starting place. The only modifications I've made
are the addition of the prettier rules to enforce that our code is
well-formatted, and disabling react/prop-types since there are better ways to
enforce prop types nowadays (don't worry about this last one if it doesn't make
sense).
ESLint is a cinch to get working with Visual Studio Code. Just download the extension and you should be good to go.
It's Worth It!
That might seem like a lot of setup work, but trust me when I say that downloading Prettier and ESLint will probably the best decision you'll make in your development career. Second to taking this course, of course! These tools, and others like them, will save you countless hours in the long run, and let you focus on what we really care about: building awesome websites.
Conclusion
You've learned a ton in this lesson - give yourself a pat on the back for making it through the core concepts of React, and modern web development! Next up, make sure to go through the example for this lesson after going through the reading:
React 1 example lab - building a game of tic-tac-toe
Work through this example step-by-step by yourself. This will help put all the concepts we've learnt today into perspective and help you understand how we can use them outside of our simple counter example and in a more complicated use case.
Contributors