HW 1 - HTML
Introduction
Ready to make your first website? You will create a website where you explain why love something. For example:
- Why you love a particular celebrity
- Why you love a particular movie
- Why you love the color red
In the process you will gather an intuition for how HTML works. HTML is the building block for all websites, and it's easy to learn!
For example:
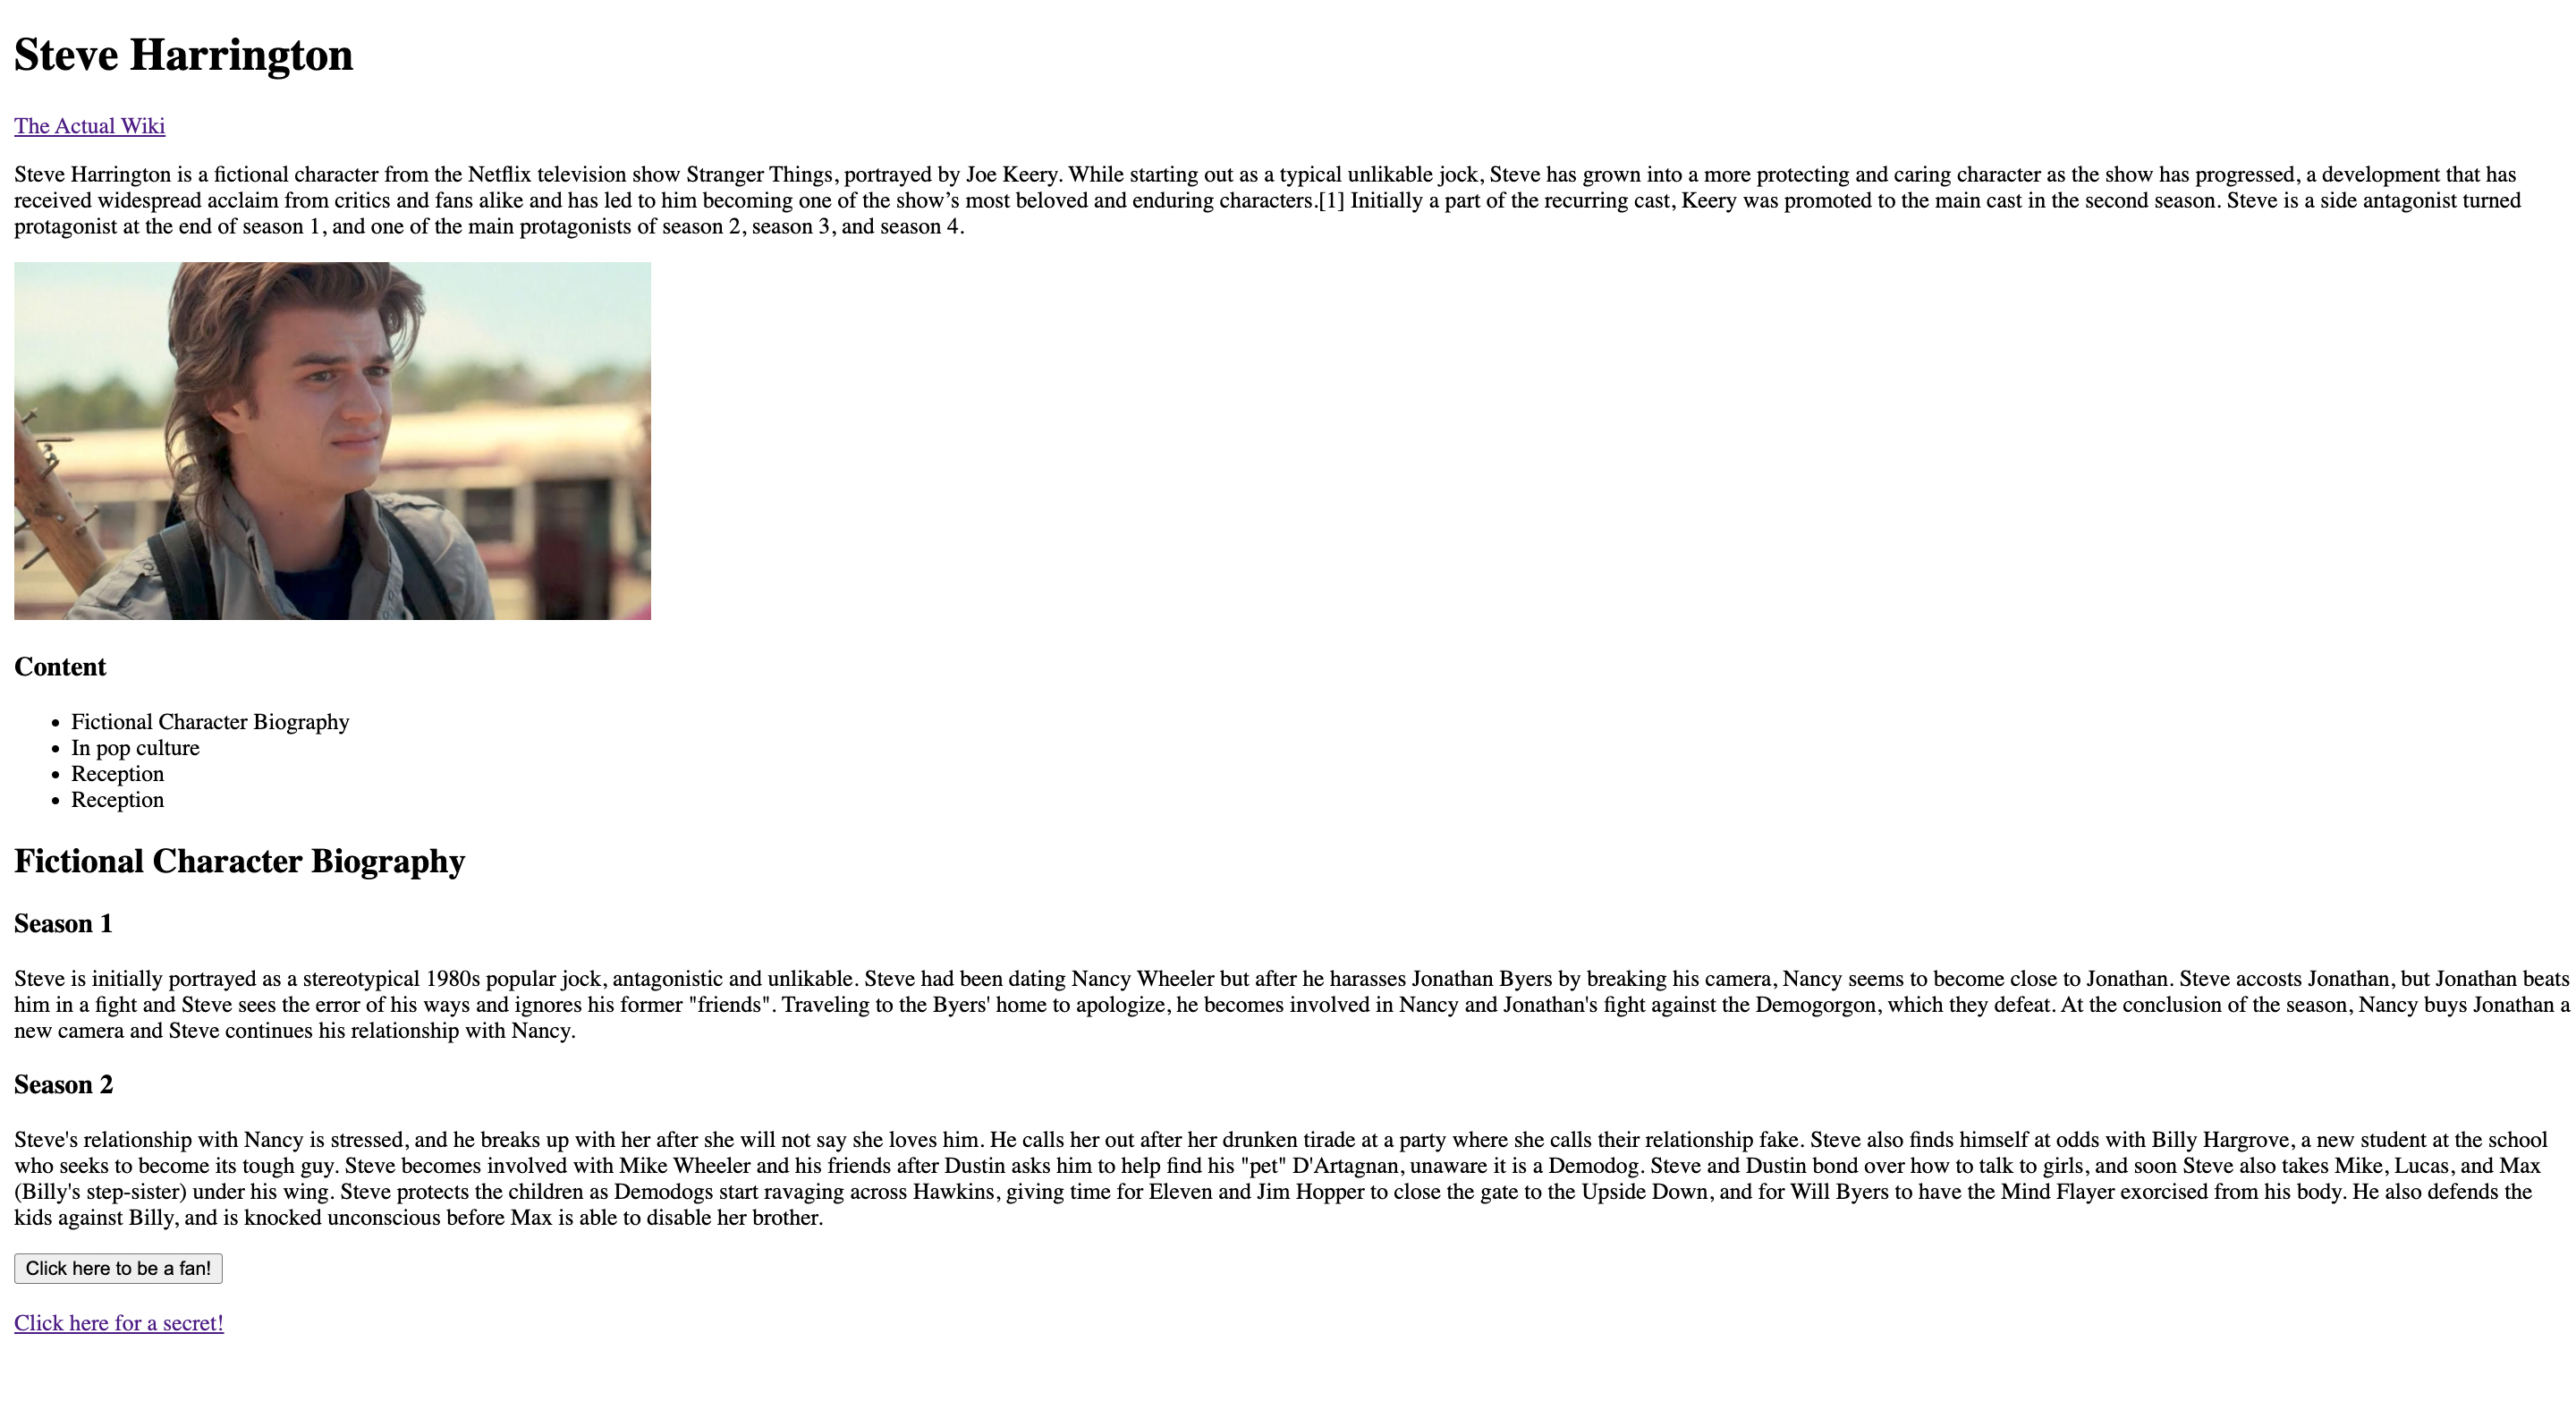 Note: You are not allowed to make a Steve Harrington tribute page (unless you actually love him). Don't copy the example.
ChatGPT
Yes, ChatGPT can do this entire assignment (it made some of it), but don't be charmed: ChatGPT cannot build websites. It can help you now, but it will fail you when you want to build or contribute to a larger website. And if you haven't learned the basics now, you will feel lost very soon.
Learning Objectives
- Using essential HTML (text) tags
- h1, h2, p, b, i, sub, sup, br, etc.
- Creating bulleted lists using
<ul>,<ol>, and<li>tags
- Embedding an image in the webpage using
<img>. Alternate text prop - Linking to different pages - 1 live page and 1 local page (
<a>tag). - Creating a basic form on the local page.
- A button that reloads the page.
- Basic info about meta tags.
You should already know what most of these tags are from the lecture. If you don't, review the HTML reading.
Setup
You will need a:
- Browser: We recommend Chrome, but feel free to use any you like. If you're using Safari, make sure you enable dev tools.
- Code editor: If you don't have a code editor, we recommend VSCode. You can download it here.
Creating a (local) website is as simple as creating a folder and putting an HTML file in it. After you've made your folder, just open it in your Code Editor of choice. Then create a new file and call it index.html. Each .html file is a page. Multiple .html files can be linked together to create a website. By convention, we name the landing / main page of a website index.html.
Go ahead and write "Hello World" in your index.html file. Believe it or not, this file is now a working HTML file! (It just so happens to break every convention, but we'll fix that in a second).
To see what this site looks like, open the folder in your file explorer and double click on the index.html file. This should open the file in your browser. You should see "Hello World" written in the top left.
Now, go ahead and change the text to something else. Every time you change the HTML file, you must:
- Save the file
- Refresh the page in your browser
If you don't do both of these steps, you won't see your changes. This is a very common mistake.
Q1 - Skeleton Code
To be valid, HTML files must begin with <!DOCTYPE html>, and include <html>, <head> and <body> tags.
Make sure you do this correctly. Here's an example from the reading.
Q2 - Title, Heading
First, we will need a title to tell our readers what they will be reading about
- Give the webpage a title (e.g. “Steve Harrington Tribute”). This should change the tab name.
- Give the webpage a heading. This should be a size 1 heading (hint: h1).
Notice how the heading and title are different
Q3 - Content
Use various tags like h1, h2, p, b, i, sub, sup, br, etc. to write about why you love your topic. Use <ul>, <ol>, and <li> tags to create bulleted lists.
You are required to make the page interesting.
Q4 - Links
Now, let's add a link that navigates the user to elsewhere on the web! For example, you can use the <a> tag to add a link to the actual Wikipedia page for your topic.
Look up the <a> tag to see how you can make the new page open up in a new tab.
For example:
Q5 - Another page!
Most websites have multiple pages. Create another page by making a new file ending in .html. Then, link to it from your main page using the <a> tag. There are no requirements for this page, but you should make it interesting too.
To do this, you will need a relative path. While absolute paths are the full path to a file (e.g. C:/Users/user/Documents/index.html), relative paths are the path to a file relative to the current file. For example, if you have a file structure like this:
index.html
about.html
Then, the relative path from index.html to about.html is just ./about.html. The . at the beginning means "this directory". So, ./about.html means C:/Users/user/Documents/about.html. If you had a folder called pages that contained about.html, then the relative path would be ./pages/about.html.
A double dot .. refers to the parent directory. So ../about.html means C:/Users/user/about.html (we've left out the Documents folder).
https://en.wikipedia.org/wiki/Steve_Harrington is also an absolute path, but the file is not on your computer. It's on the internet! So, you can link to it from your website, as we did in the previous exercise.
The benefit of relative paths is that, no matter where the index.html and about.html files are, the relative link will work. Even if you put them on the web, the . will simply change meaning to, say, https://www.yourwebsite.com/. So, ./about.html will become https://www.yourwebsite.com/about.html.
As a final note, you may omit ./ from the beginning of a relative path. So, ./about.html is the same as about.html.
If you don't use a relative path, the link will break when you submit the website. Your link should not look like C:/Users/user/about.html.
Q6 - Image

Now insert an image into your site (or multiple!). Download an image with a common extension (e.g. .png) and put it next to your index.html file.
Link to the image from the img tag the same way you'd link to a page from the a tag (see the previous exercise).
Q7 - Form
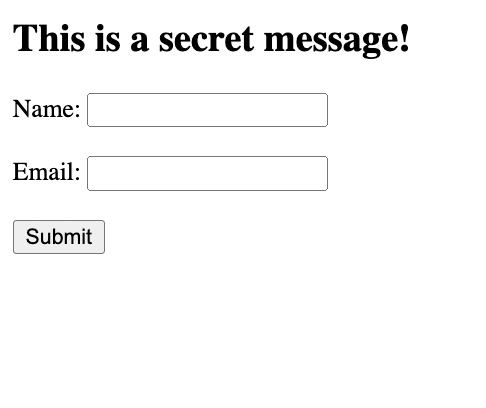
Using the form and input tags, create a form that accepts some data, and create a submit button.
Your form should look something like this:
Q8 - Metadata
The <meta> tag defines metadata about an HTML document. Metadata is data (information) about data.
Tags like title and meta go into the <head></head> of your HTML document. These tags are responsible for telling search engines and the browser top-level information about your site.
A common structure is <meta name="____", description="____"/>
Add a few to your page!
More information: HTML meta tag
Q9 - Inspect Element
While looking at your (beautiful) website, right click and select "Inspect Element". This will open up the developer tools.
Try changing the text of your website. You can double click on the text in the developer tools to edit it.
Select the <body> tag and look at the dimensions of it (chrome shows the dimensions as many colored boxes). How much margin does the body have? Make a note of this for submission.
Conclusion
This concludes your website. You now know the structure of fundamentals of HTML. There really isn't much more to HTML, just some more tags and options you'll learn when you need something (like a checkbox). Remember, HTML is the outline of the Internet.
While it looks ugly right now, we will see in the next homework how to add some snazzy style and even more functionality!
To submit, you have to ✨ deploy ✨ your website. There needs to be some URL that we can go to and see your site. There are many ways to host static HTML sites you can find online. We recommend https://tiiny.host/. If you use tiiny.host, you have to:
- Create a zip file with your
.htmlfiles and upload it. - Make an account.
- Find the URL it generates for you (where your site is deployed!).
- Submit the URL to
Gradescope > Homework 1, alongside the amount of margin you found in the developer tools.
The homework will be graded on completeness. If you have any questions, please ask on Ed or come to office hours!