HW 0 - Getting Started
Introduction
Welcome to Web Development at Berkeley's full-stack web development decal! This homework will help get you set up and ready for the rest of the semester. This homework is definitely on the longer side if you don't have a technical background or have never taken a CS course, so I recommend starting ASAP if you're new to this stuff. If you have a strong technical background (CS61A + CS61B or experience with git, Github, and the terminal), feel free to skip to part 4. If your technical background consists mostly of CS 61A, Data 8, or another intro programming class, please read through and do the entire homework.x
Learning Outcomes
In this homework, you'll learn:
- How to read technical documentation
- Set up git on your local computer and how to use git
- Set up a Github account and a Github repo.
- Save your work from your local computer into a Github repo.
- Set up your first website using Github pages!
Let's get started!
Part 0: Read the Syllabus and the Notes
Pretty self-explanatory. Head over to the Course Policies and go over it if you haven't already! We'll try to keep the syllabus as up-to-date as possible, but lecture videos might not be uploaded until a day or two after the lecture (depending on how good the wifi is and such).
Next, head over to the lesson notes for this lesson and read through them. Reading through the lesson notes is extremely important in this course, as they'll often cover essential material we won't be able to get to in lecture. This should take 30 minutes. Make sure you read all parts of the reading.
Part 1: Learning The Language
For people without a technical background, having to navigate through the vast set of terminology required to understand the world of development can be a daunting task, so we'll start by having you go through some documentation. Documentation is often the best way to get started with learning a new language, and one of the most important references you can use when programming. All programmers regardless of experience and background use documentation religiously, for the simple reason that it's near impossible, and most definitely inefficient, to memorize every single thing about a language or technology when the information is easily accessible on the internet.
Start by scanning through this guide: A Beginner's Guide to Using Developer Documentation Like a Pro. If you don't have a technical background and have trouble understanding the guide, that's totally fine, just try your best to understand the underlying ideas and principles the guide is conveying.
Another important resource is StackOverflow, a Q and A site used religiously by developers to find the answers to their questions. Please read How to ask a good Stack Overflow question and Writing the perfect Stack Overflow question next in order to understand how to best use and navigate StackOverflow.
Part 2: Verifying git And Creating a Github
First, lets make sure that you have git installed, and if you don't, that we install it.
Installation
Windows Users
If you don't already have git installed, download git here. This should also download git bash, which is what we'll reference when we talk about the terminal.
Mac Users
If you're using a Mac, you should already have git installed by default.
To verify that you have git installed, follow the following instructions.
Open up Windows (On Mac it can be found under the applications folder ⇒ Utilities ⇒ Windows). It should like this.
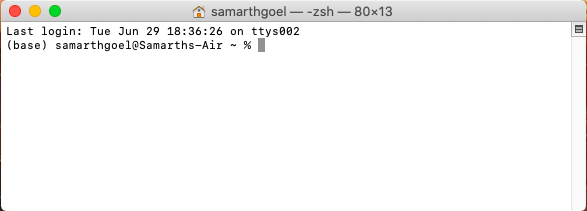
Type in this command
$ git --versionIf your response looks like this (it's fine if you have a different version number), you have git installed.
$ git --version
git version 2.20.1
(Mac users only) If your response does not look like the above, install git from here: https://git-scm.com/downloads.
Lines that start with a $ are commands that we type in. Lines that don't start with $ are responses we get from the terminal!
Create a Github Account
Nice, now you've installed git! Next, let's create a Github account.
Create an account here:
Github: Where the world builds software
Now that you've installed and verified git and created a Github account, let's talk about why these are necessary tools for all developers and programmers. git is a distributed source control management tool. That's a fancy way of saying that it's an easy way to share code and work on it together with a large team. It's also a very convenient way to backup your code off your computer and an easy way for you to post code online so other people can use it. Here's a great high-level overview of git. Github is a centralized repository for git projects. It allows strangers across the world to collaborate on code and make cool stuff. It has become the modern developer's resume. Many companies host their code there for all their various open and closed source projects. It's a cool way to browse other people's code and see how they do things. If you see a mistake, you can fork their code, which means make your own copy of and fix it yourself. Once fixed, you can open a pull request against it. A pull request (often abbreviated as PR) is a request for them to merge your commits in with theirs. They will then decide if they want to (since it's their repo) and will merge it or not.
Part 3: Interacting with the terminal and git
We are going to interact with git from the terminal. If you're on Mac or Linux, just open your terminal.
Windows Basics
If you're on Windows, either find a way to interact with the Linux subsystem or go download git for Windows. git for Windows is very bash-like so most of the commands we'll be using should just work. If you're using the Linux subsystem, everything will definitely work.
bash
Open your terminal, let's get comfortable with navigating in bash. In bash, you're just navigating around the folders in your computer. You know how you use the File Finder (or whatever your operating system has) to find files and you click in and out-of folders? It's the same for bash, we're just using text commands to do it now.
pwd
You should see a fairly empty screen. Type pwd and hit enter. pwd stands for
"print working directory" (directory is synonymous with folder) and sure enough
it prints where you are in your terminal. It's basically asking bash "where am I
right now?" It should print something like: /Users/<your user name here>. This
is probably your home directory. Every user on your computer has their own home
directory. Usually you want to be working out of here to keep things organized.
ls
Now type ls. ls stands for "list". It lists everything in the directory.
It'll show you a bunch of files and folders you can open or run. ls is like
asking "what's here?" Try typing ls -l. You'll notice the same files and
folders are being outputted but it's formatted in a different way. -l is
what's called a flag. It's something that's passed to the ls program and
it modifies what it does. In this case, -l means give us the long output. Try
typing ls -lah. This will show you even more files because -a means show all
files, including hidden files (which are the ones that start with a .) and it
will show you the file sizes in more readable sizes because of -h.
If you forget what these means, explainshell.com is an extremely helpful site.
mkdir
Hopefully you're in your home directory right now. If not, type cd ~ (I'll
explain what that is in the next section.) Okay, now that we're here, type
mkdir webdev. This will create a new directory (it stands for "make
directory") and now you can type ls and see it.
cd ~
mkdir webdev
ls
cd
Type cd webdev. This will move us from the home directory into the webdev
folder we just created. Type pwd to see that we're inside the directory. Type
ls to see that there's nothing inside the directory. Type cd .. to get out
of this directory and back into your home directory. .. means up one
directory. Type cd webdev to get back into the directory.
cd webdev
ls
more bash
If you want more bash skills, please check out Jem Young's Full Stack for Front-End Engineers course, or check out Programming 101: How to Use the Windows & Command Line.
git
Okay, let's use git now. Start by creating a file called index.html in your
newly created webdev folder, then put the following code inside your
index.html you create. Don't worry if you don't understand any of this, we
will teach html in the next lesson!
<!DOCTYPE html>
<html lang="en">
<head>
<title>Hello World!</title>
</head>
<body>
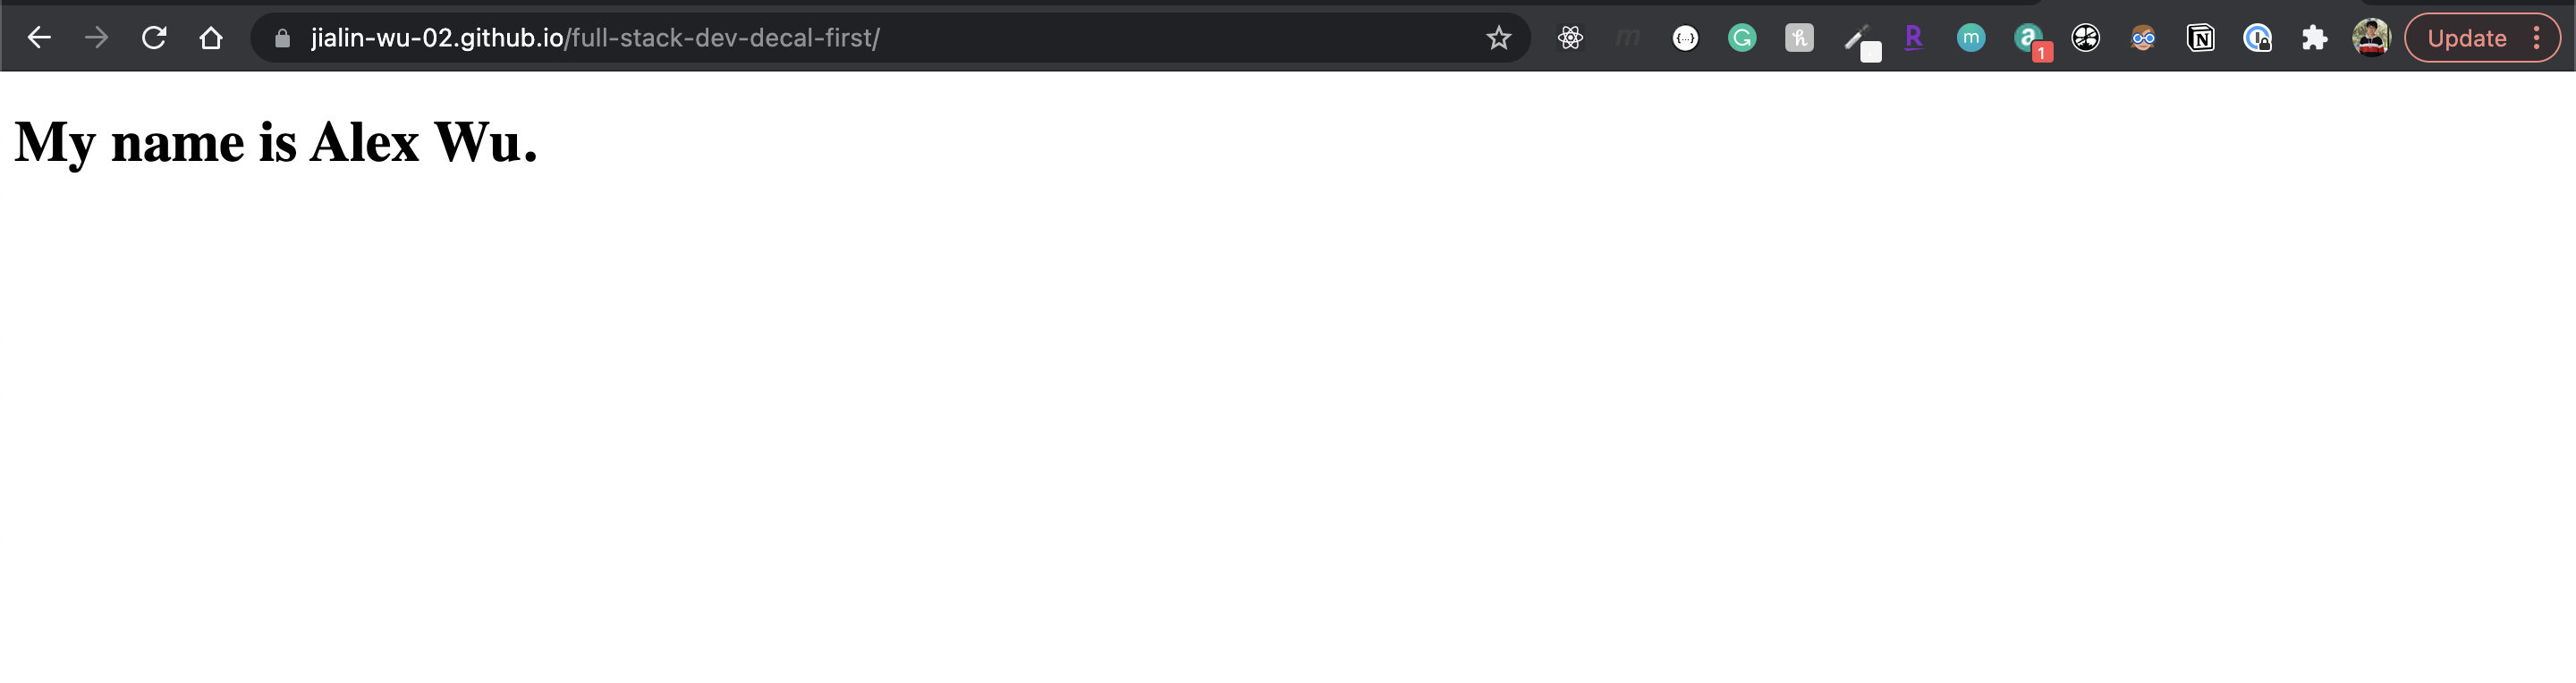
<h1>My name is INSERT YOUR NAME HERE.</h1>
</body>
</html>
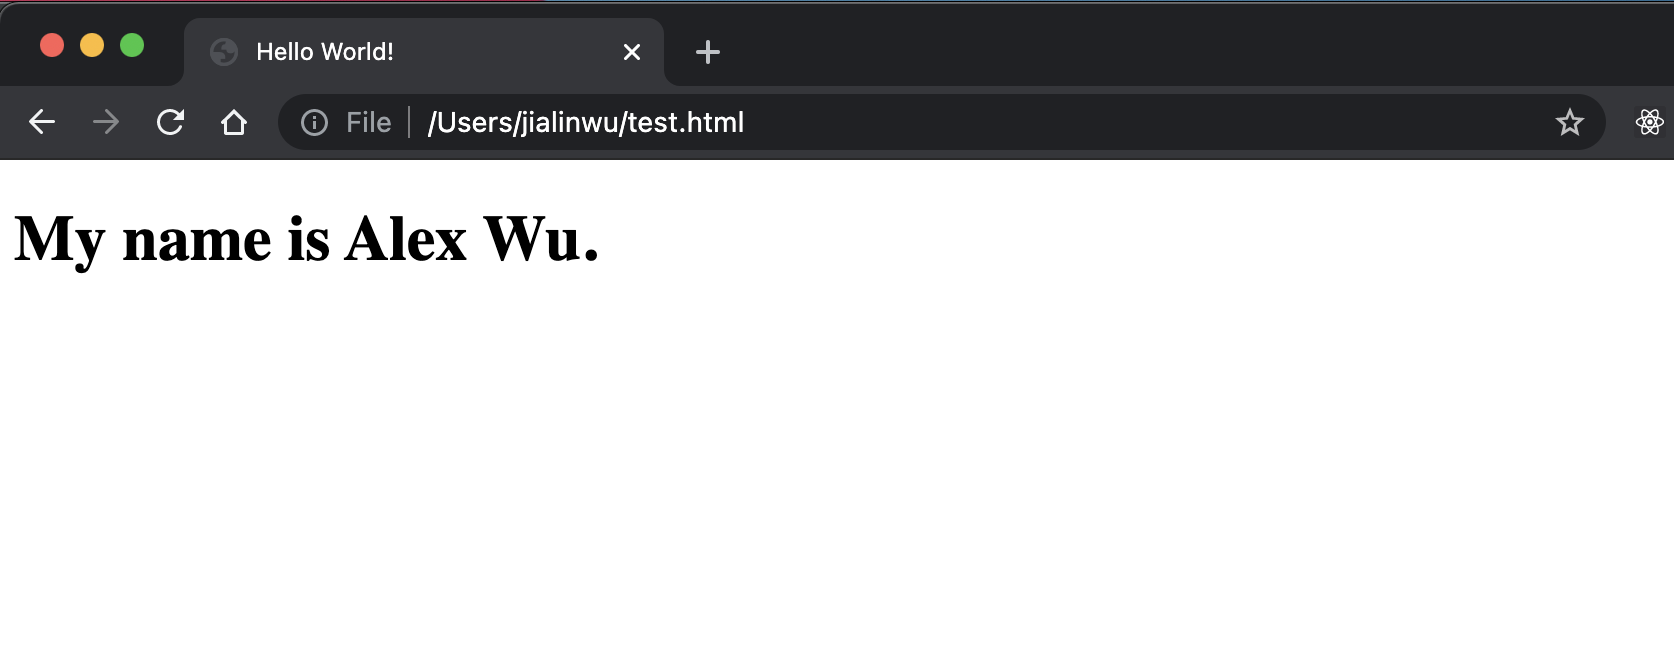
- Remember to replace
INSERT YOUR NAME HERE.by your name!
After you create this index.html file, try to open it up using a browser. You should see something like this:
git init
Make sure you are inside the webdev folder. Then type git init. This begins
a git project. If you type ls -lah you'll see that it creates a secret .git
folder where it keeps track of everything (you don't have to look in there or do
anything with it.)
git status
Type git status. This will tell you that index.html is an untracked file.
The way git is organized is that you group you changes into what are called commits. A commit is one group of changes that are made permanent. A git repository will have many commits. Some will have just one commit, some will have many. As of May 12, 2018, the git repository for the Linux project has 753,310 commits. A commit is made up of all the changes, the differences between where the code was and where the code is now. This will add new files, remove old files, delete some lines in some files, and add lines in others.
So let's make our first commit in this repository.
git add
The way you add files to a commit is that they have to go through two stages:
being staged and then being committed. Type git add index.html. This will make
index.html staged and ready to be committed. Type git status and it will show
index.html as a change ready to be committed. You can also type git add . to
make everything in this directory staged, or type git add -A to add everything
and include anything you deleted to also be deleted from the repo.
git commit
Type git commit -m "My first commit". It should tell you added your first
commit. Type git status and it should tell you you haven't changed anything
since last commit. The -m is important because each commit must have a message
with it and it's best to say what you did in that commit, something like "fixed
this bug" or "added this feature". If you forget the -m it'll probably throw
you into vim, so be prepared!
Github
Now, we're going to create our own Github repo.

Click the + (highlighted in red) in the nav and create a new repository. Name the new repo whatever you would like, do not add the license or README, and continue.
git remote
Back to your terminal, navigate to your project using cd and write the
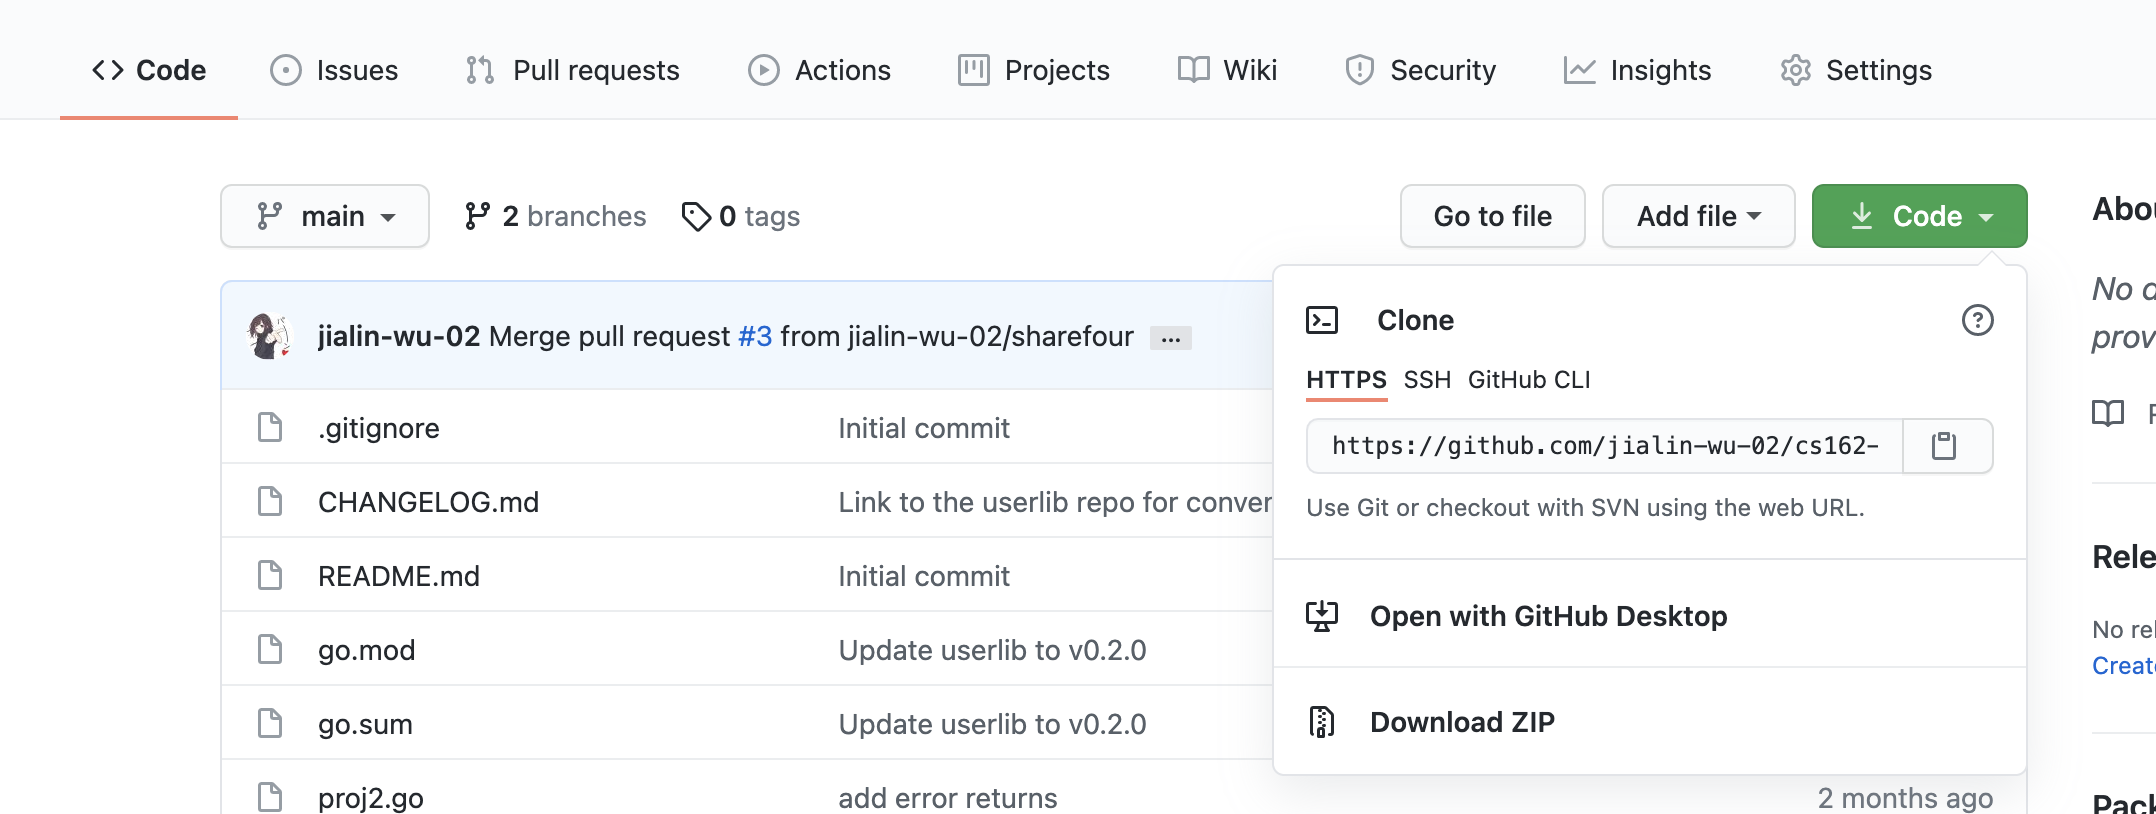
following command: git remote add origin <your project url here>. Notice about
half way down the page you can see that command, feel free to copy and paste
that.
- you can also find your project url here:
This command is going to add a new remote to your project called origin. A
remote is somewhere for you to push your computer. If you use a Github-based
flow (most of us do) this will be one of the very few remotes you'll ever use.
git can be used in a more decentralized way; you could have a remote that's your
buddy's computer. But I've never worked that way. We called the remote "origin"
but we could have called it anything. But everyone calls it origin. "origin"
should always be called where your repo is. Sometimes you'll fork someone
else's code and keep track of that repo too, and typically you'd call that
"upstream".
Type git remote -v and you should see your newly-added remote. It adds the
remote twice because you can fetch (which is what you call when you pull code
down) from one place and you can push (which is what you call when you send your
code up) to another. I've never seen anyone do that though.
git push
Okay, now that we're here, type git push origin main. push is the command
to send your code up to Github origin is the name of the remote that we just
added. main is the name of the branch that we're on. git has the ability to
keep track of multiple branches of code so that you and your colleague can work
on the same code at the same time but each keep your own copy. For now we're
working out of the main branch which the main branch that everyone will
eventually merge their code into.
more git
git is so powerful. There are a lot of really cool features. Probably the
biggest thing we didn't talk about here is merging code with others. See
Nina Zakharenko's course to
become a git master. Some other basic functions you'll want to learn is how to
git log git pull, git clone, git merge, git rebase, git stash,
git checkout, and git branch. Those are the ones that are needed for base
level proficiency in git. There are many more commands that make git an integral
tool to comprehend, but the important ones for the course are the ones mentioned
here.
Github Pages
Github Pages is a service provided by Github to allow users to host website for free! It's also very simple and straightforward to use.
First of all, make sure that on your Github repo, you have your index.html in
place.

Next, Go to Settings ⇒ Pages, and then select the Github pages option. You
should see this:
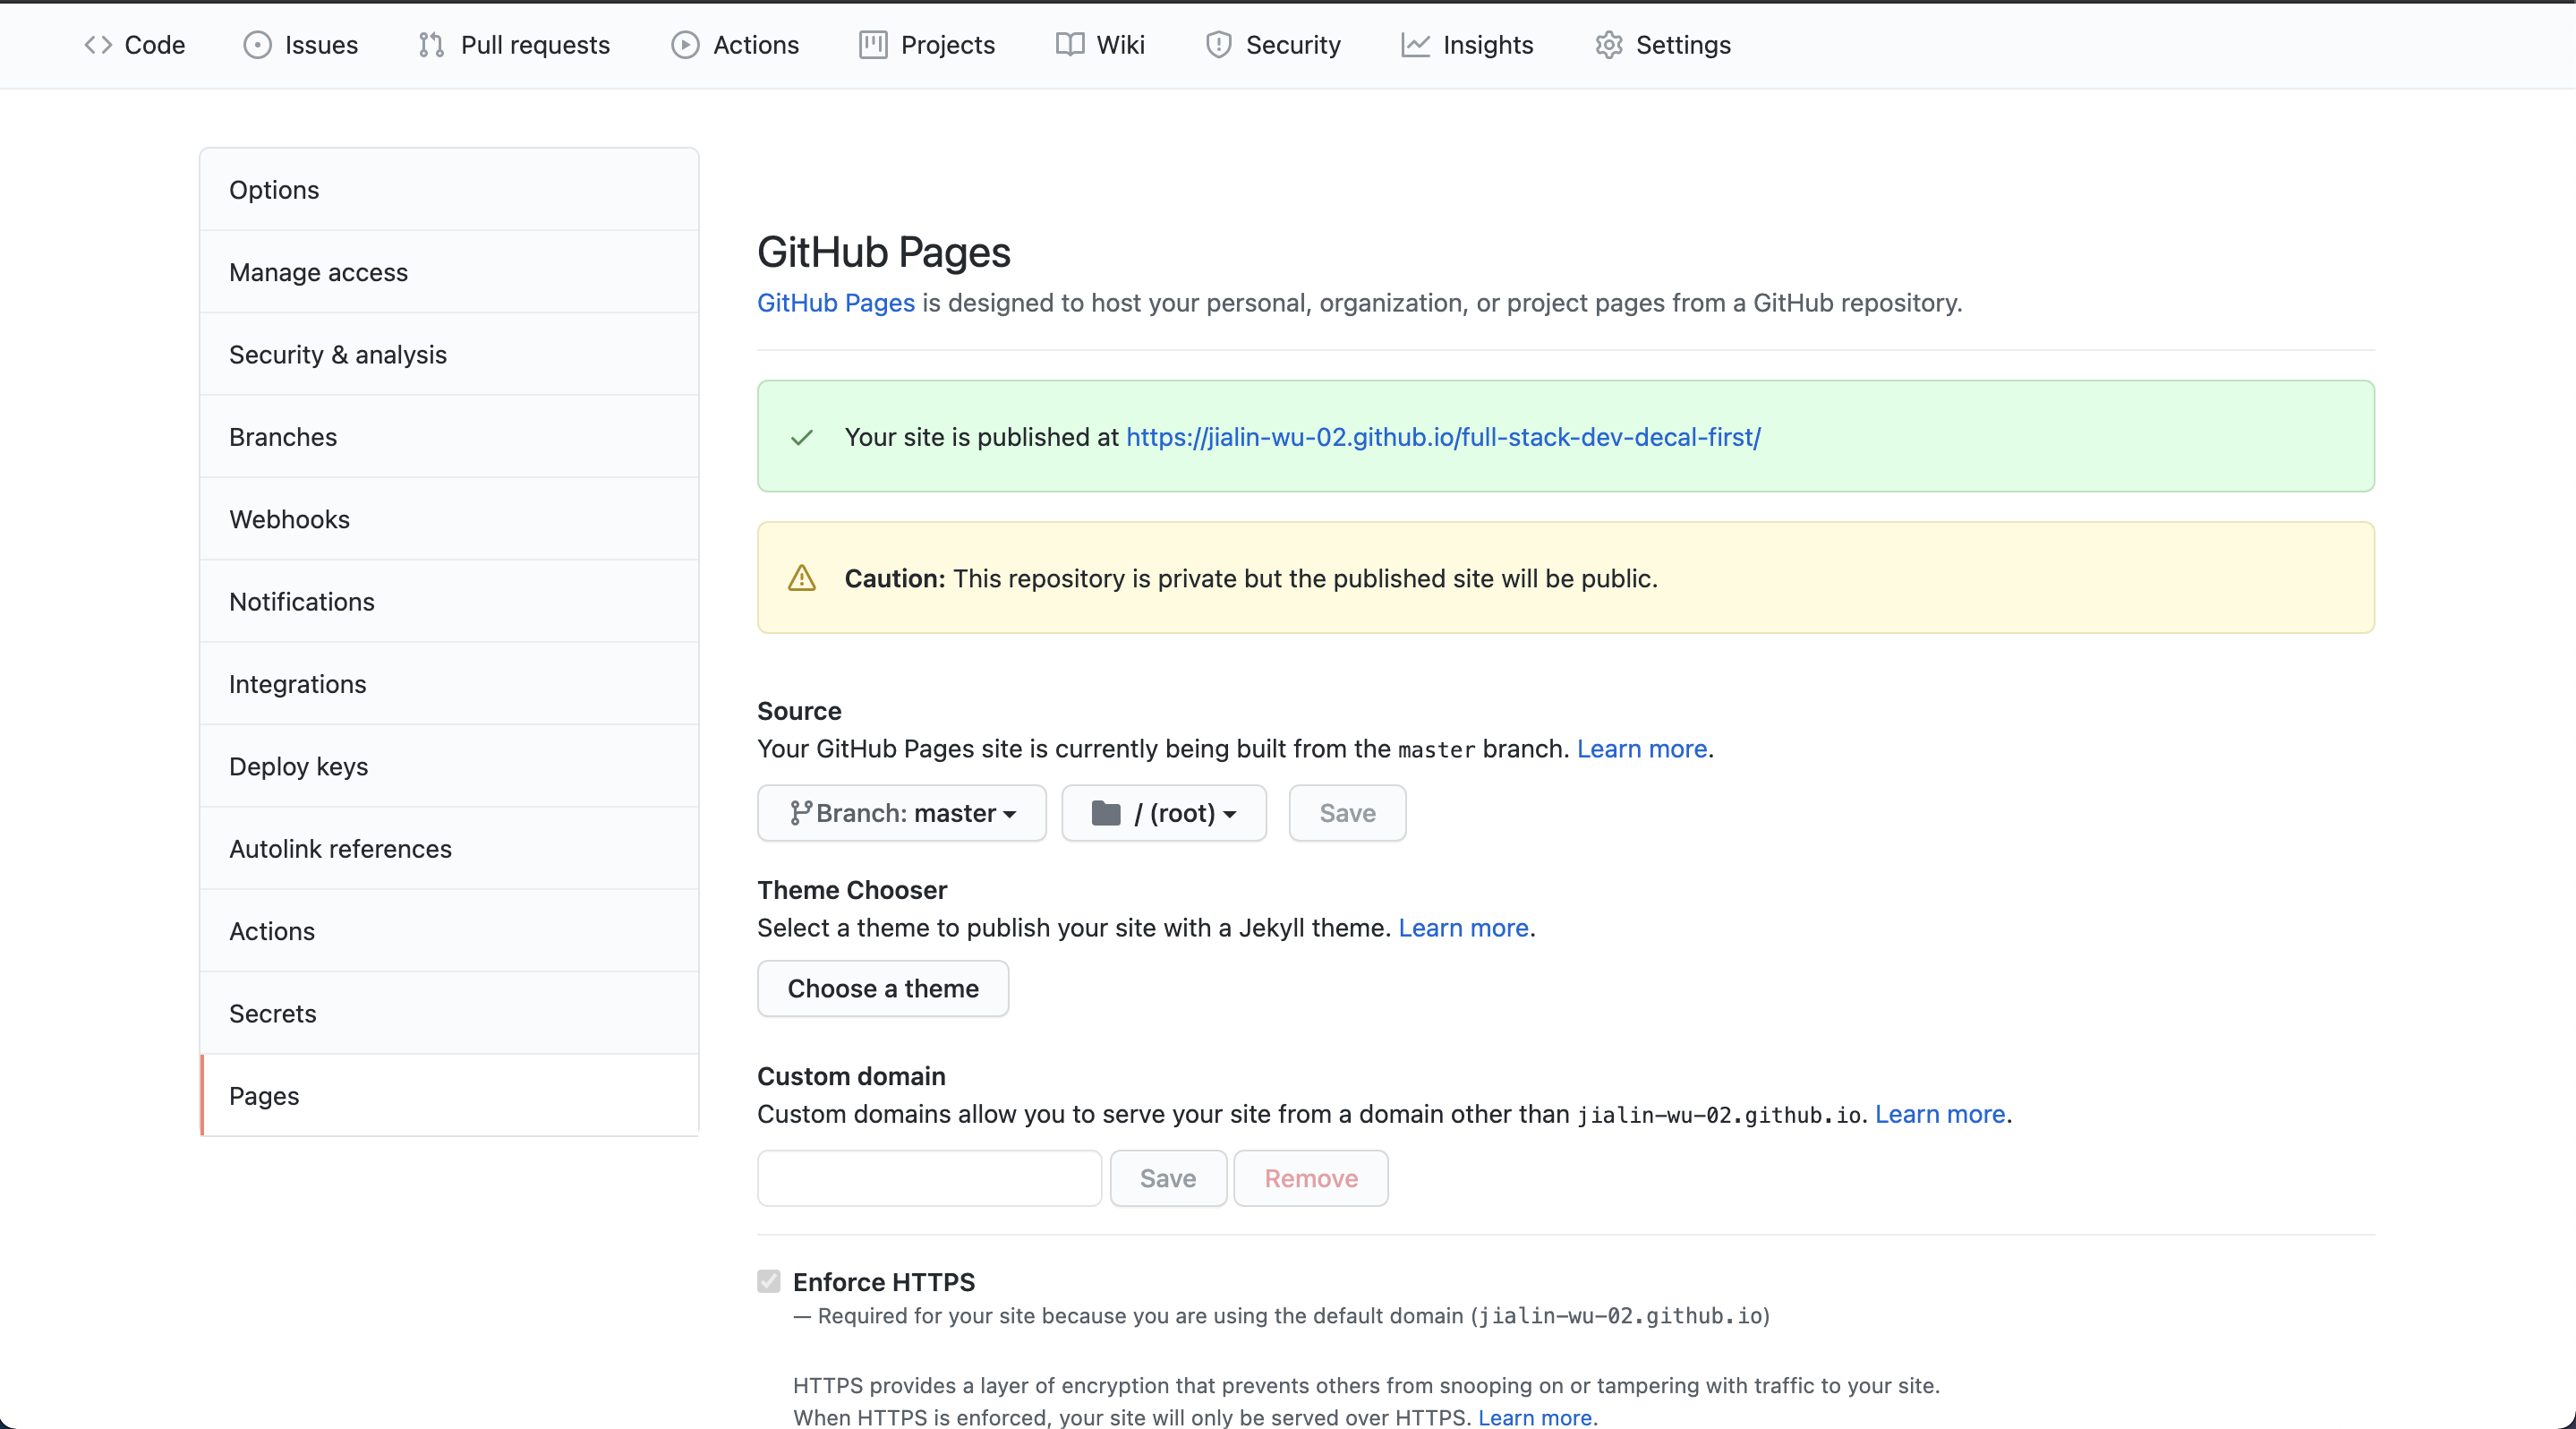
Wait a few minutes, and then click on the url to your site, you should see something like this:
Submission
Congratulations! Now you have just created your first web page and Github repo! Copy the link to your new webpage and submit it to Gradescope.
Helpful Resources
A Beginner's Guide to Using Developer Documentation Like a Pro
How do I ask a good question? - Help Center
Programming 101: How to Use the Windows & Command Line
Contributors
- Alex Wu
- Arushi Somani
- Brian Holt
- Samarth Goel
- Inspiration for part 1 and the beginning of part 2 of this homework taken from Cal Hack's Cubstart: Intro to Building Apps