HW 1 - HTML
Introduction
If you are creating anything that is for the web, you need to understand how basic HTML tags format text, embed images, and create links.
Before the web, we used ink on paper. Now, HTML is the ink and the browser is the paper. The browser converts HTML into something formatted to make it easier to read.
Learning Outcomes
In this homework, you'll learn:
- How to use the essential HTML tags
- Setting up different pages for your website
Part 0: Read the Notes
Make sure you read the HTML notes before getting started on this homework. Remember, if anything doesn't make sense in this homework or in the reading, feel free to search on the internet, ask a friend, or ask on Piazza!
Goals
In this homework, we'll slowly add various HTML elements to a webpage to build it up into a creating a wikipedia page for your favorite TV show character. It will have a survey at the end that can be filled out. You don't have to do yours about Steve Harrington (although we will appreciate it if you do).
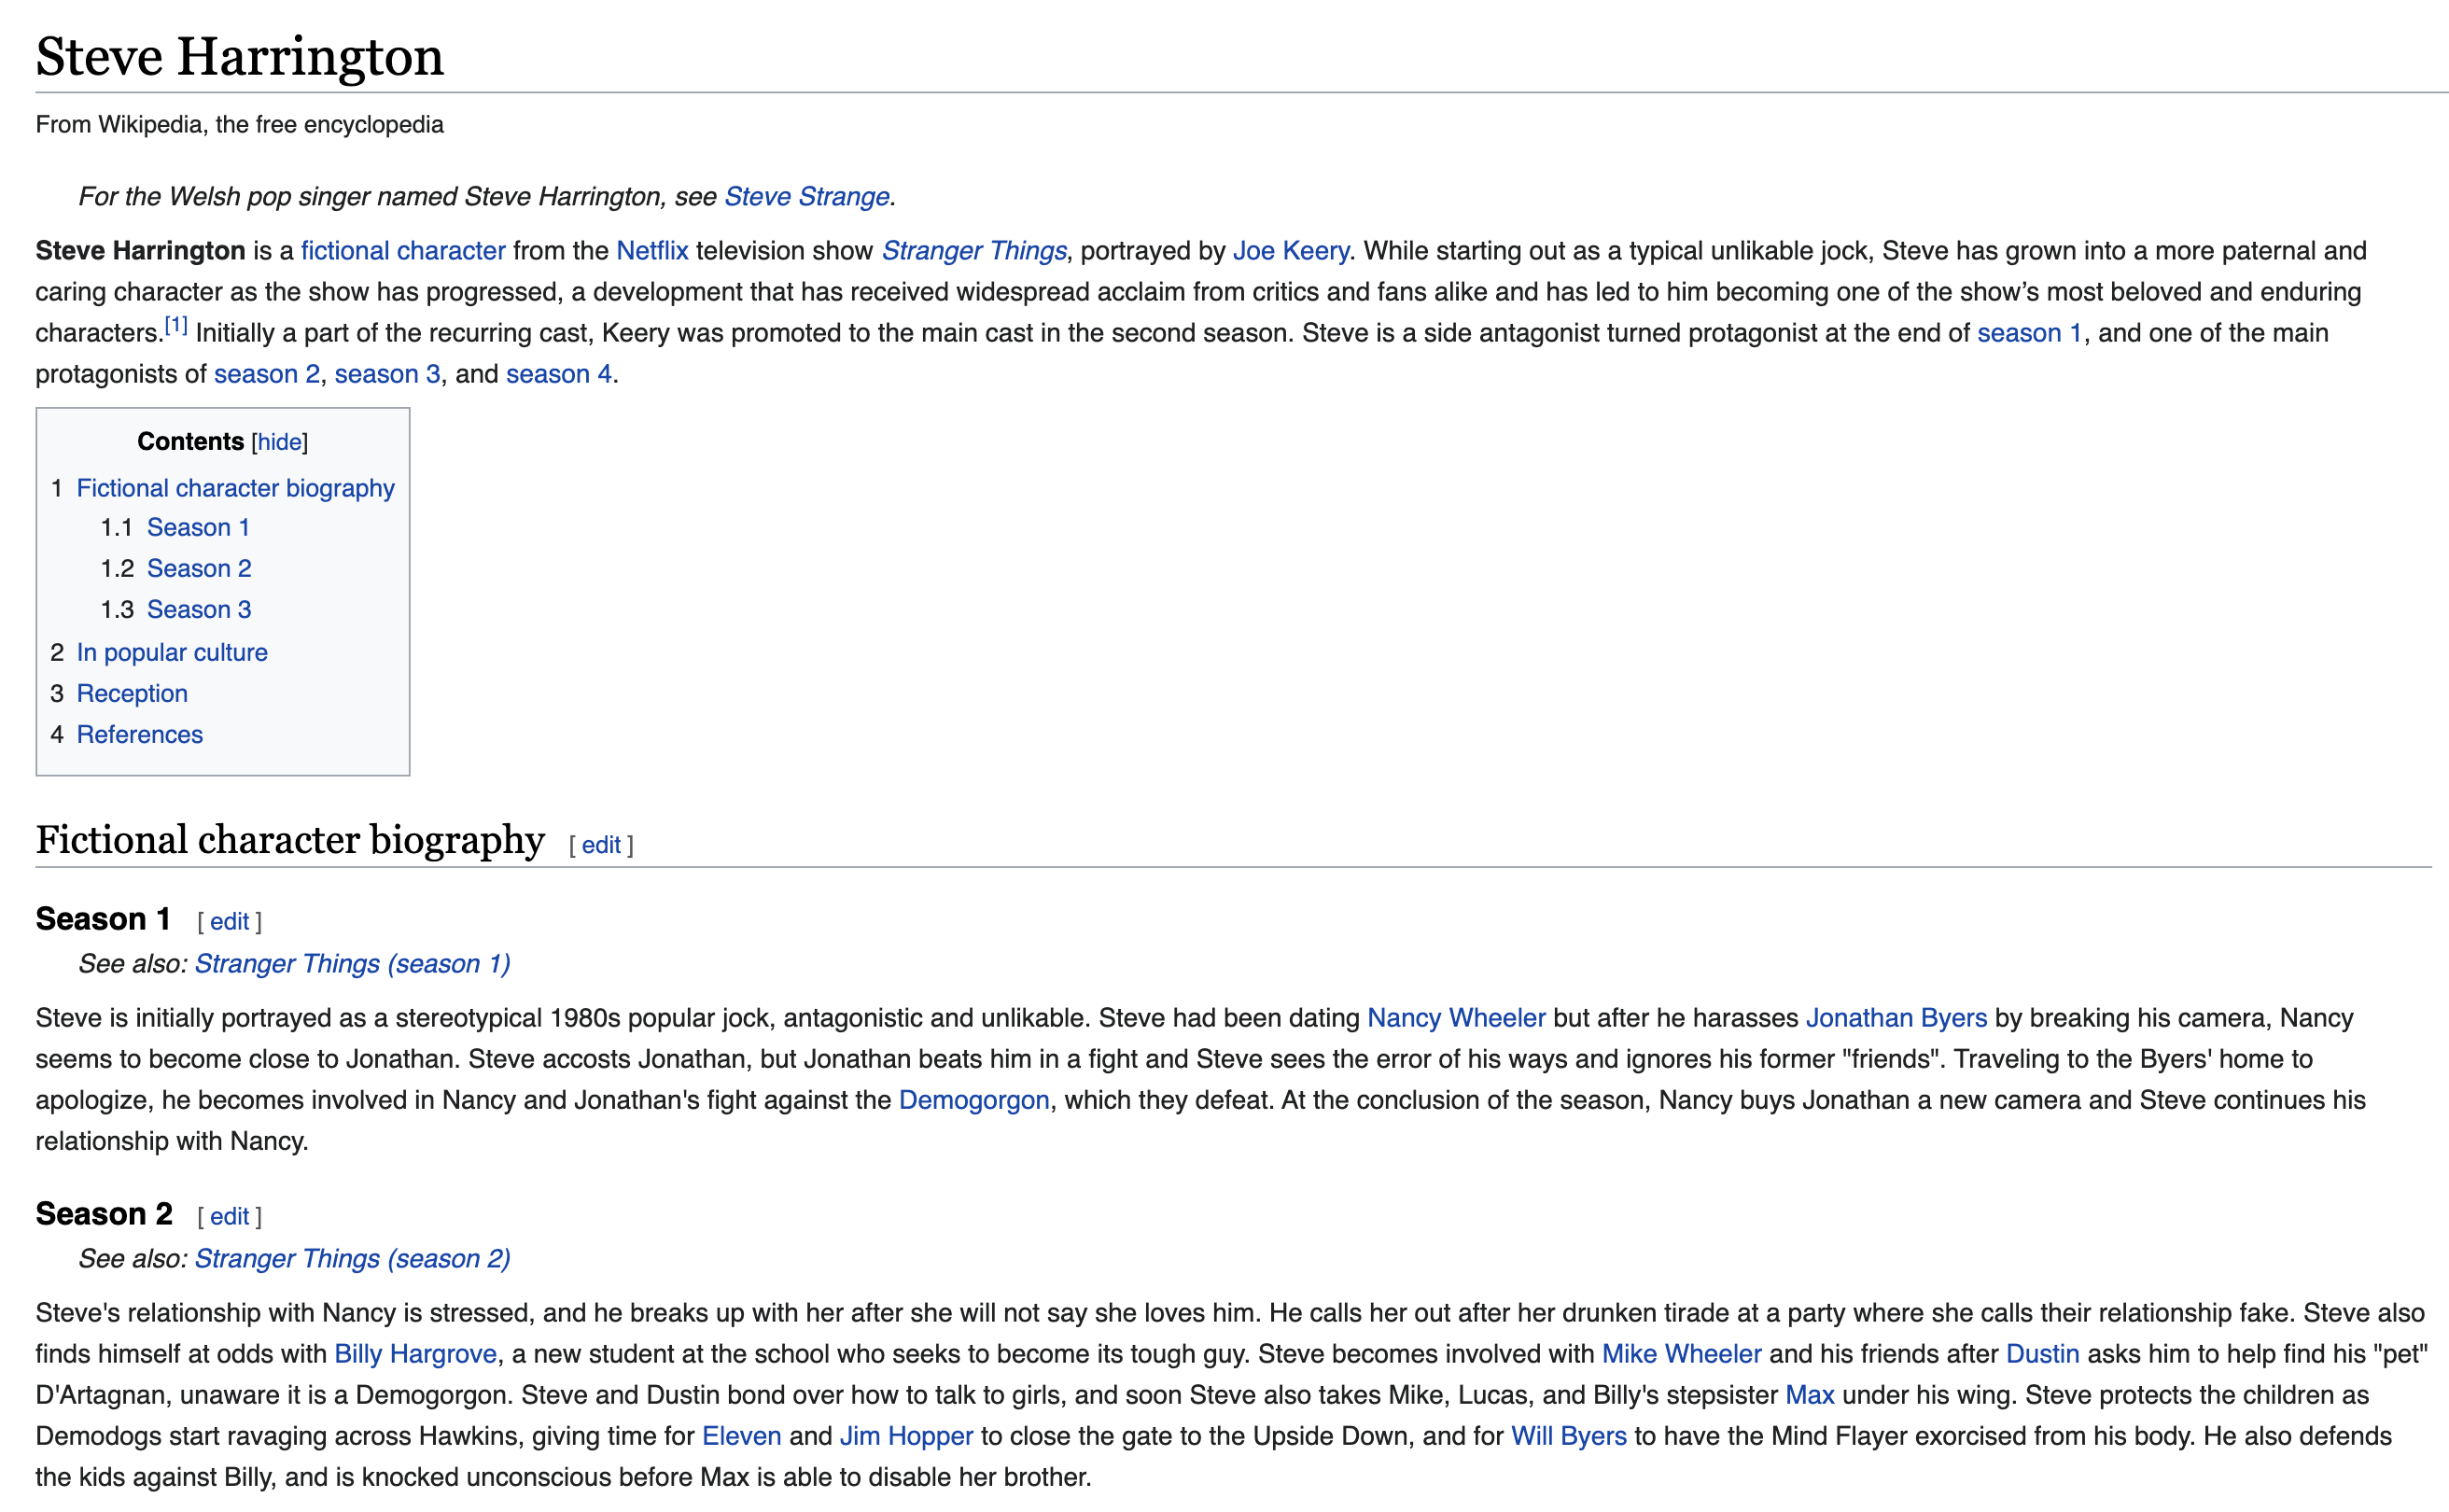
Here's the wikipedia page for Steve Harrington:
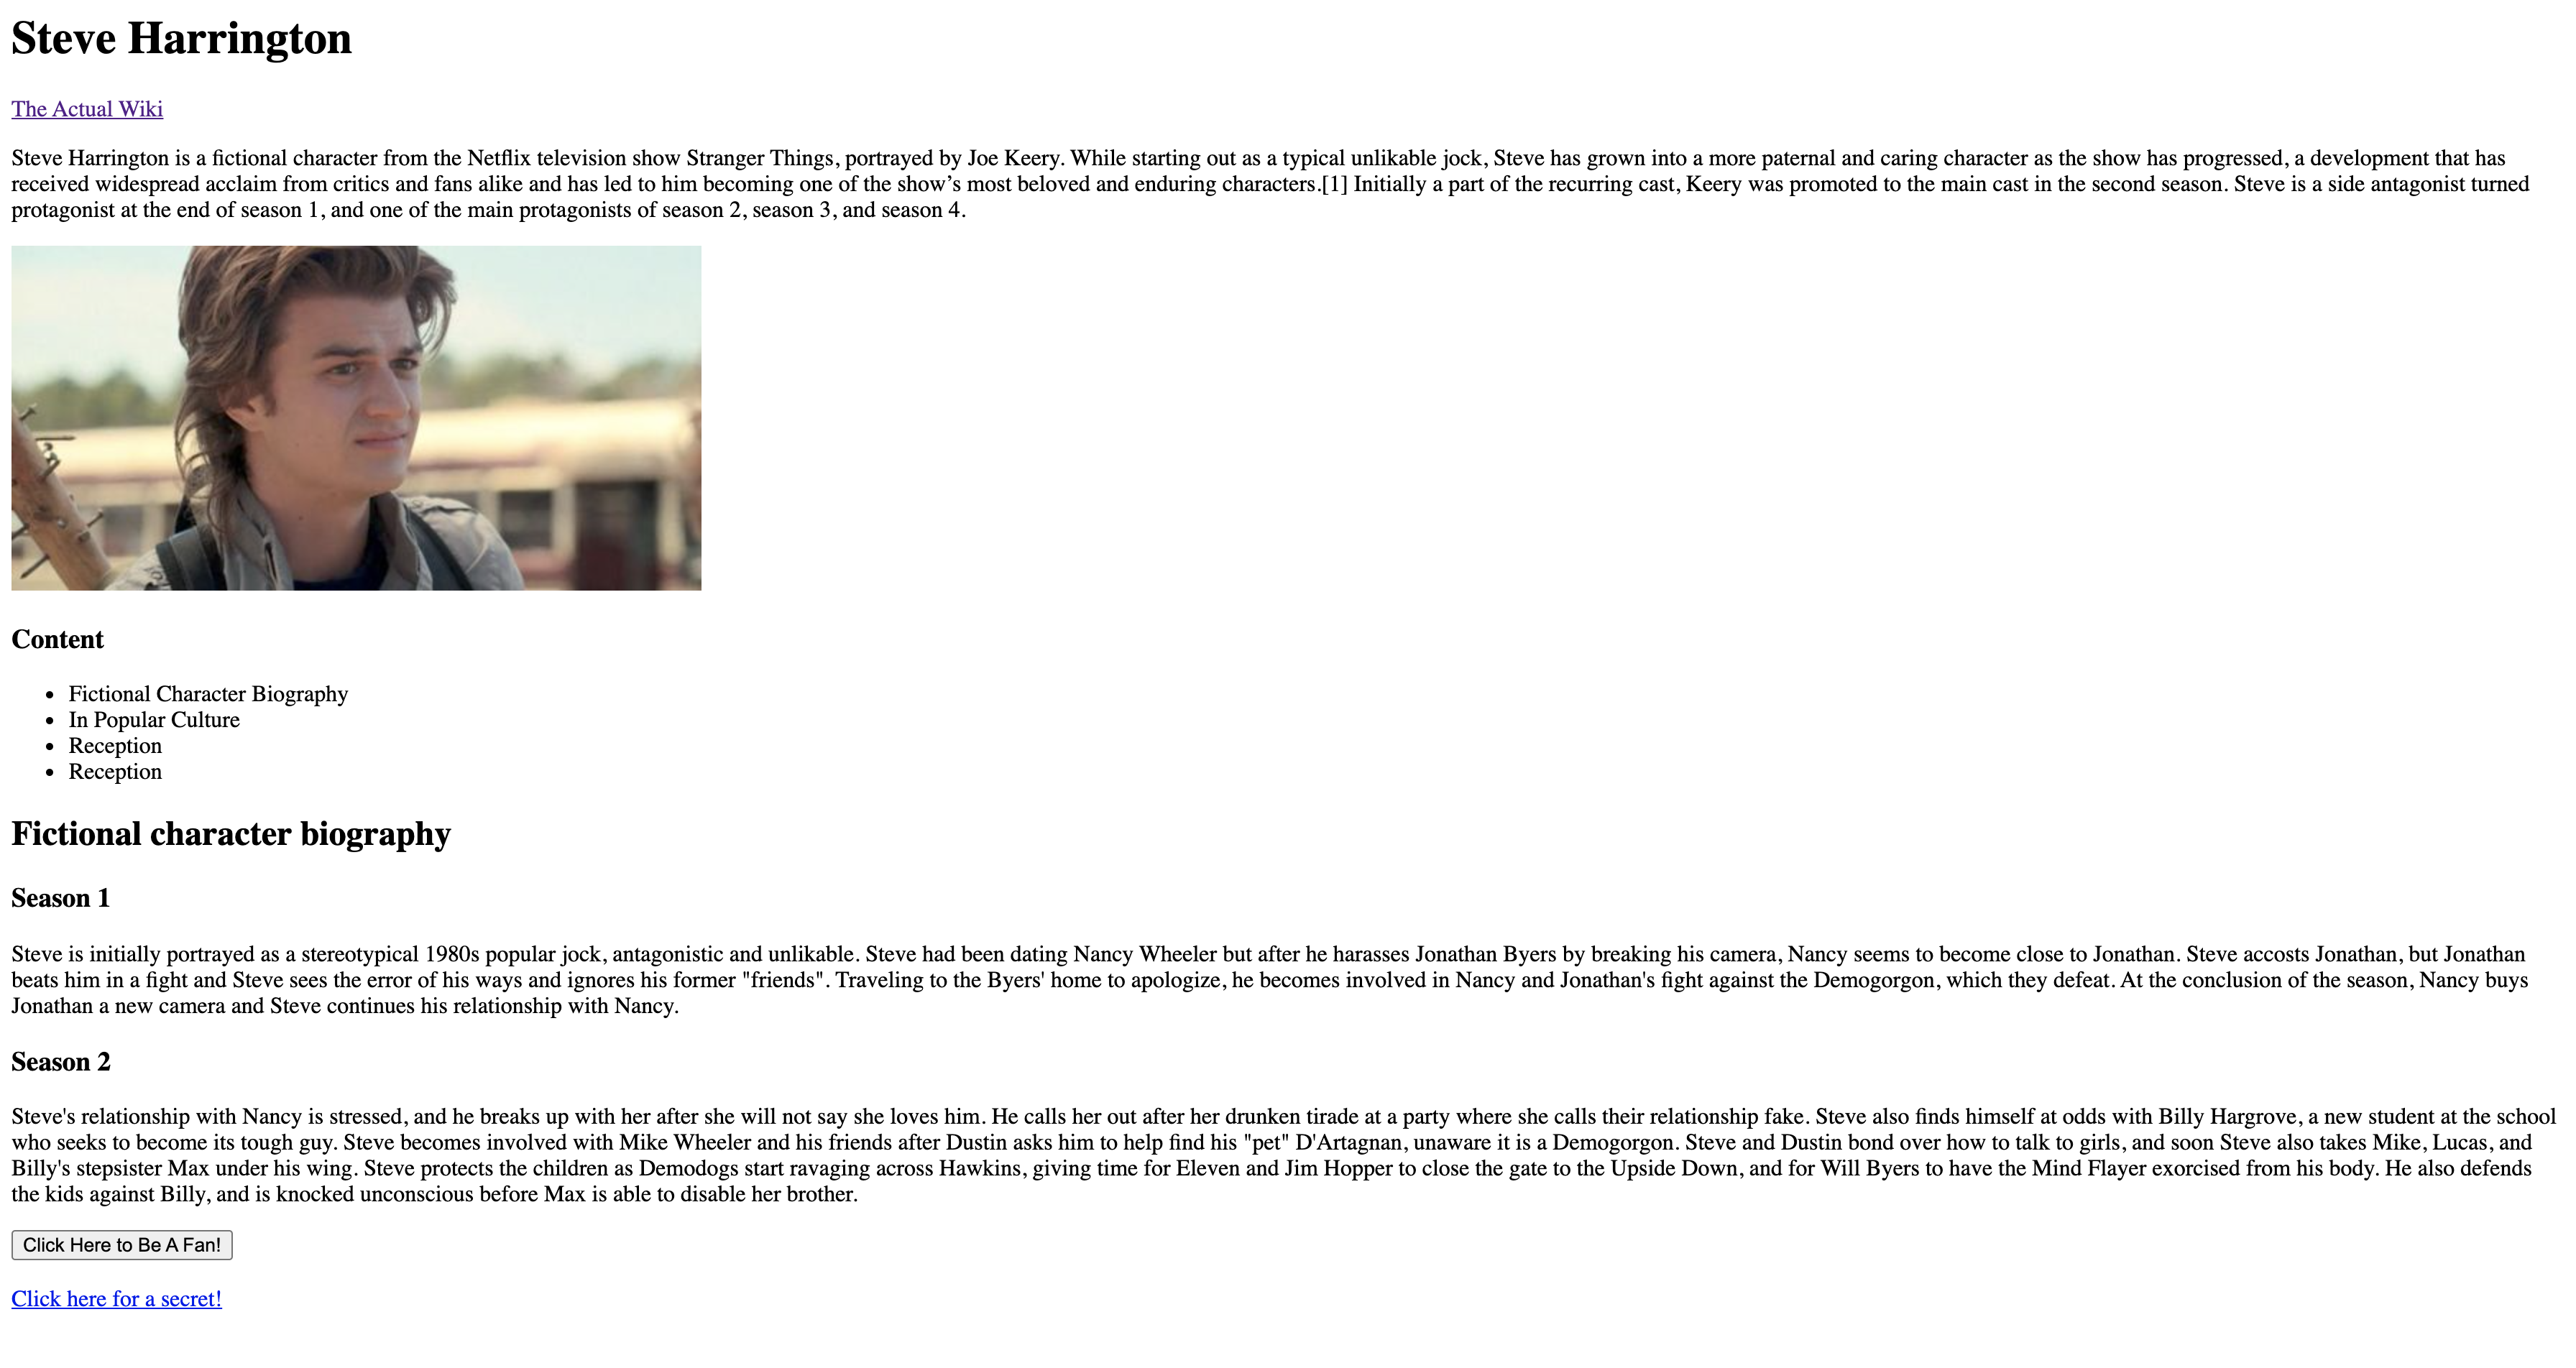
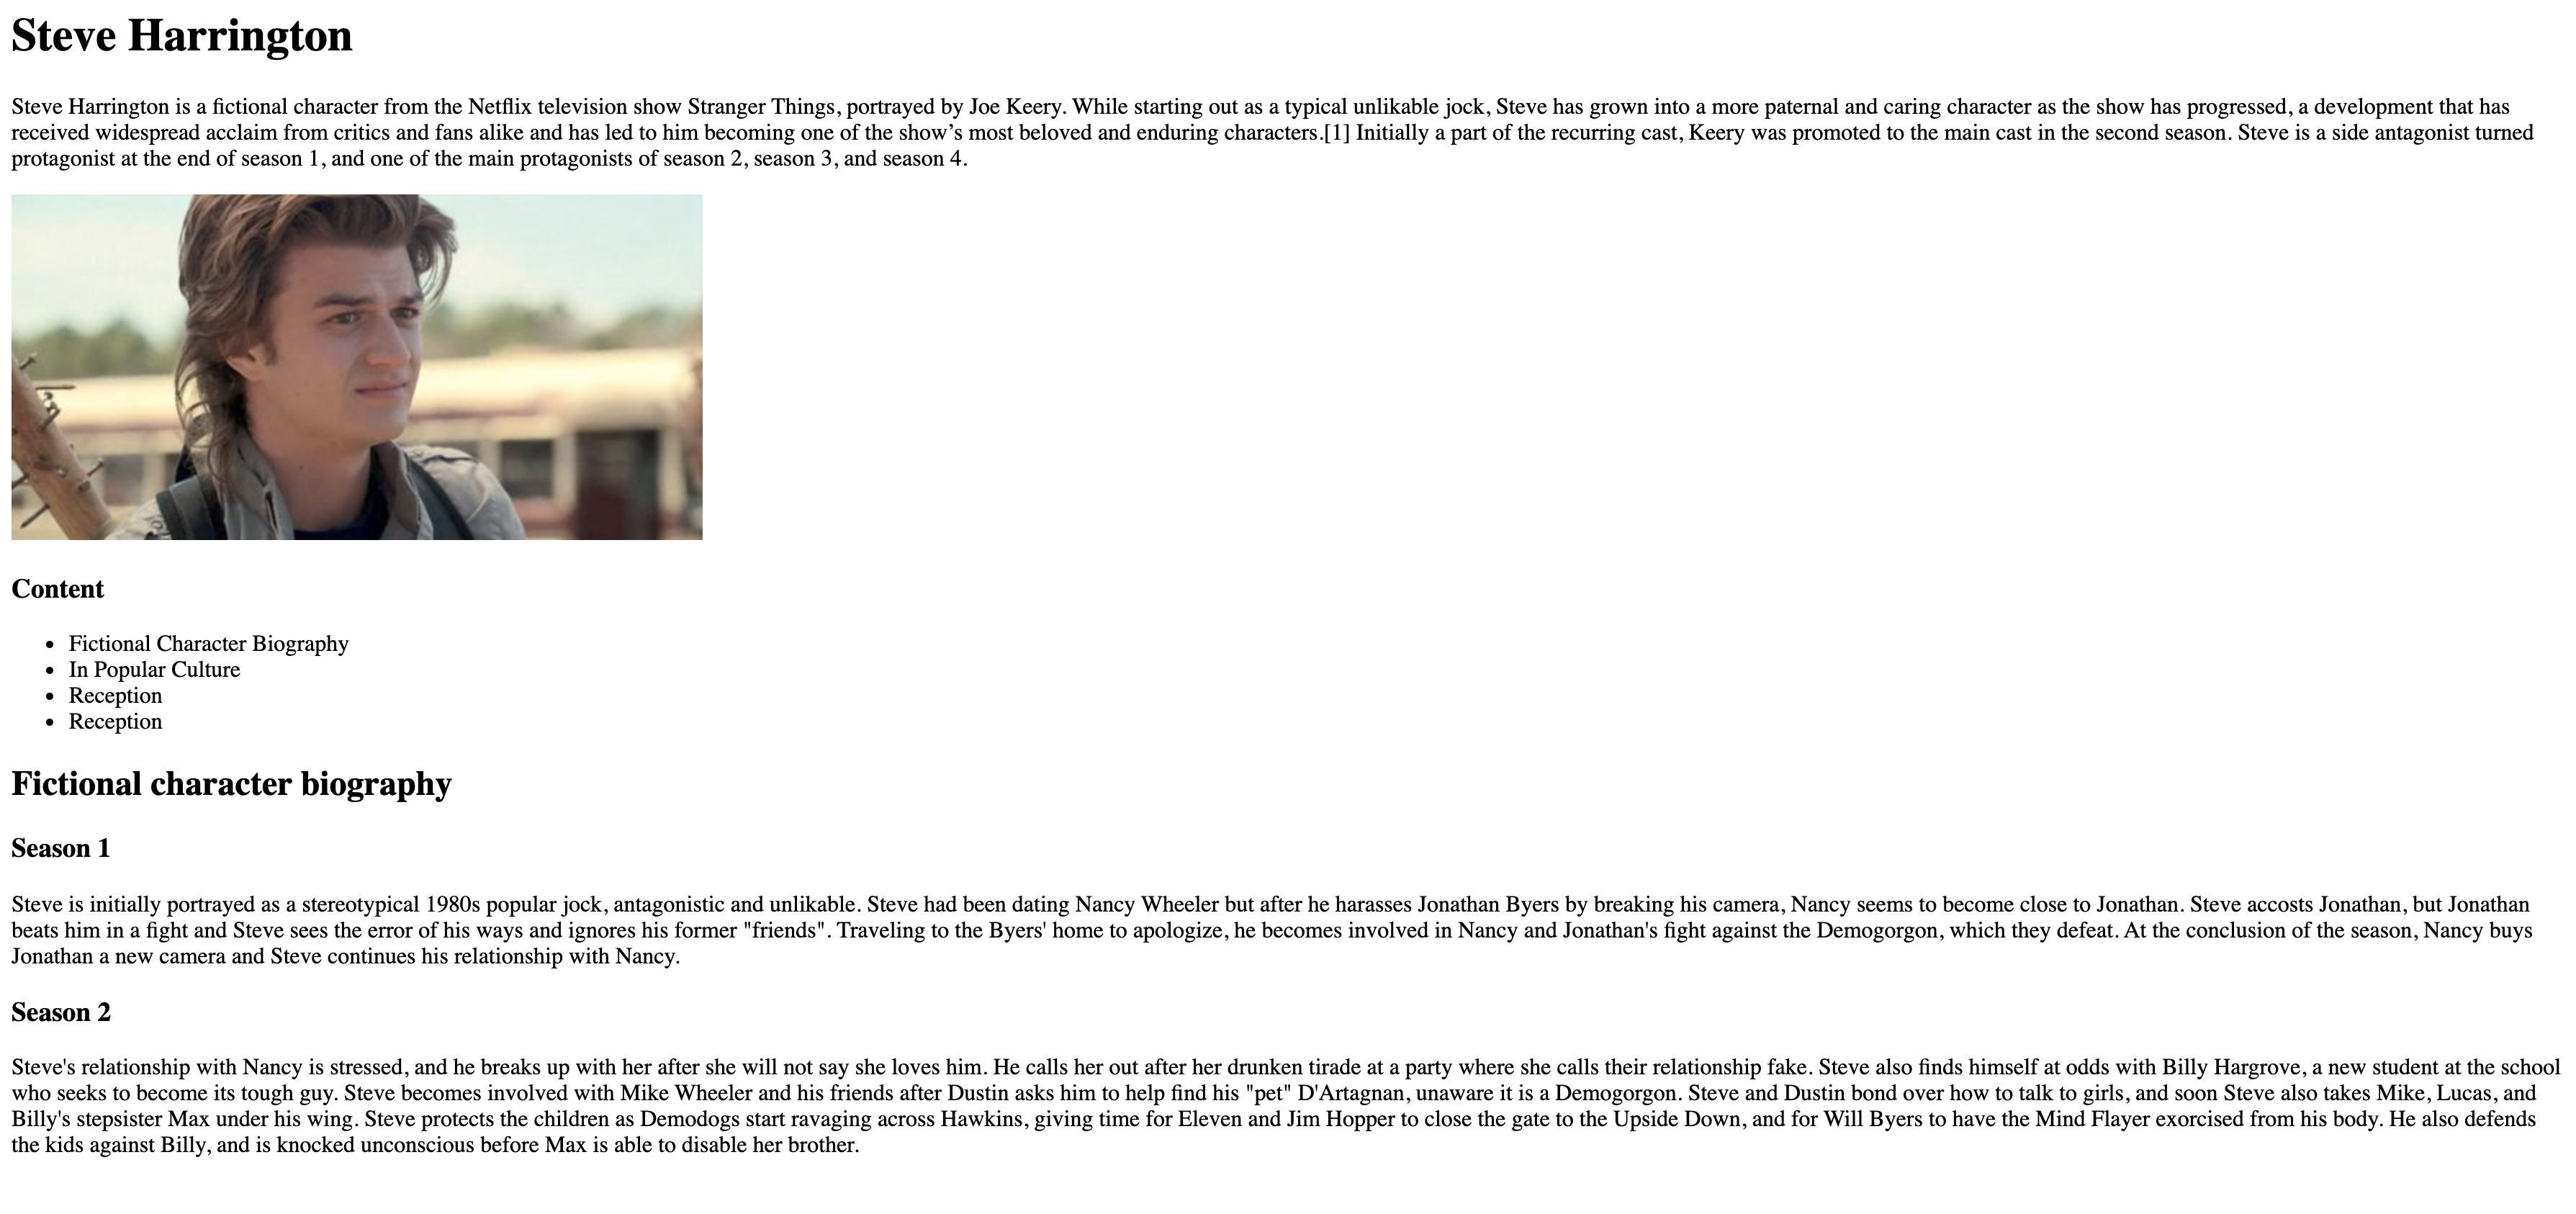
After finishing this assigment, your wesbite should look something like this:
Are you ready? Good — let's begin!
Setup
The starter code for this HW is here: https://github.com/fullstack-decal/sp22-assignment1-starter.git
To see your HTML code in a browser, right-click on the index.html file and select Open With: Chrome (or your default browser)
Requirements
Add Texts of Different Sizes
Add some text to your HTML page with tags including h1, h2, and p. You
don't need to limit yourself to these — use whatever tags you'd like!
A List of Table of Contents
Let's make a table of contents, like the wikipedia page, except that we will not
include links just yet. Instead, our table of contents will be simply text for
now. Use ul and li tags to create a table of contents.
Add an Image
Let's break through the monotony with some fun images! Use the img tag to add
an image to your wiki page. Here's an
image
to use, for convinience!
Right now, your website should look like this:
A Link That Navigates Away
Now, let's add a link that navigates the user to elsewhere on the web! Use the
a tag to add an link to the actual wiki page from your wiki page.
Here's the link to the actual
wiki page.
Add A Button
Let's add a button to this page! When clicked, the button should pop up an
alert message that thanks the user for being a big Steve Harrington fan!
Here's a quick breakdown on
the alert function.
Linking to Another Page
In your folder, let's create another HTML page! We'll call this page secret.html. Use the skeleton code given above for this page too, and add a simple secret message. Now, we want to create a link in our main index.html that navigates to the secret.html page.
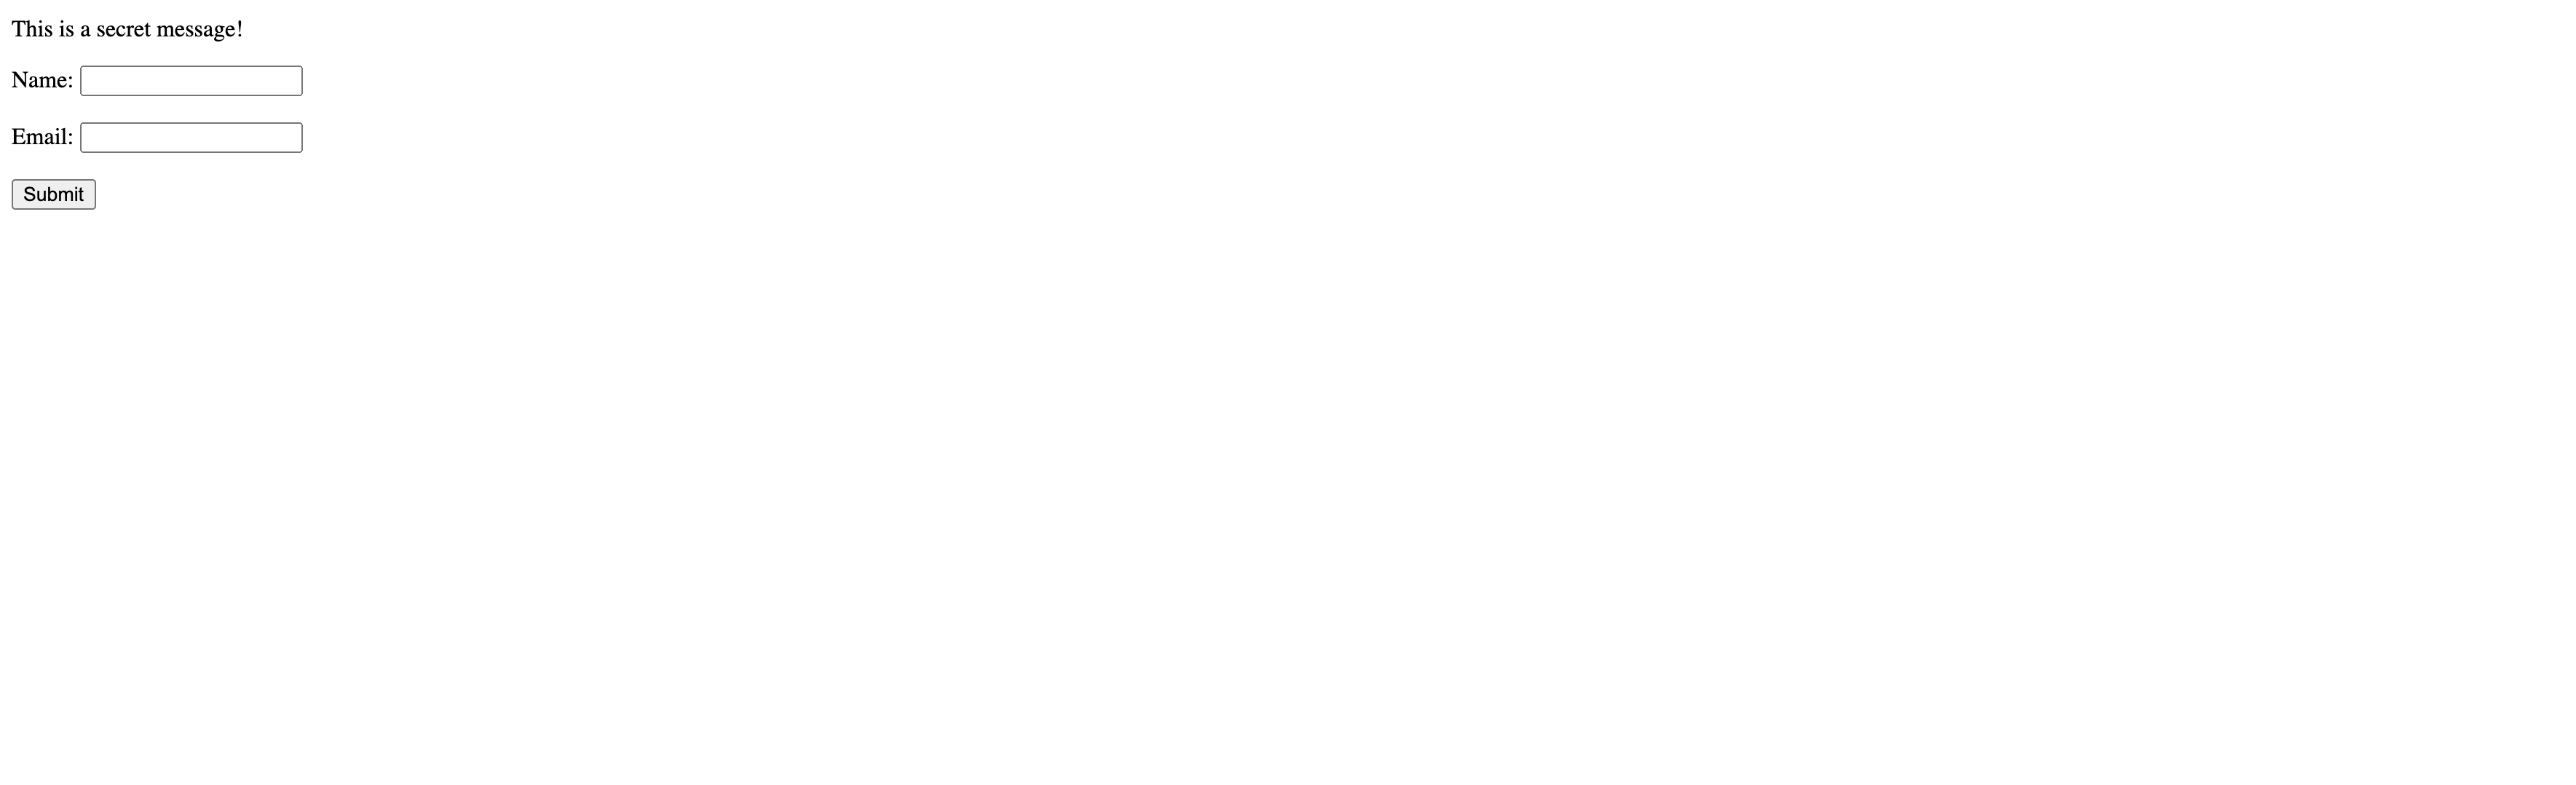
Add A Form To The Secret Page
Now that we have a secret page, we can do ~ secret stuff ~. That is to say,
we're going to ask for the user's name and email on the secret page. Using the
form and input tags, create a form that accepts a name and email, with a
submit button.
Your form should look something like this:
More Meta Tags
Final job: Let's add meta tags to index.html. There should already be 3 meta
tags in index.html. Consult
this list to add one more. The
page shouldn't look any different, but your metadata should be much better!
That's the end of the requirements! Feel free to play around and make the website as detailed as you want. Have fun!
Submission
After you finish, create a repo on Github named WDB-education. This is the
repo you'll store all your homework in!
Upload your HTML file to this repo under the name assign1p1.html and
assign1p2.html for both your files!
Turn your code into a GitHub pages link, and upload the link to your page to Gradescope. The Gradescope can be found on the syllabus, and instructions for creating a GitHub page link can be found at the end of homework 1.
Helpful Resources
Contributors