React
Introduction
In this assignment, you will learn how to set up a basic React project, create components, and use key React Hooks such as useState, useEffect, and useContext. You'll also learn how to manage navigation between pages using React Router. The goal is to give you hands-on practice with some of the core concepts in React.
Learning Objectives
- Understand how to set up a new React project.
- Learn how to use important React Hooks:
useState,useEffect, anduseContext. - Set up routes to navigate between different pages using React Router.
- Manage state within components and maintain it across the application.
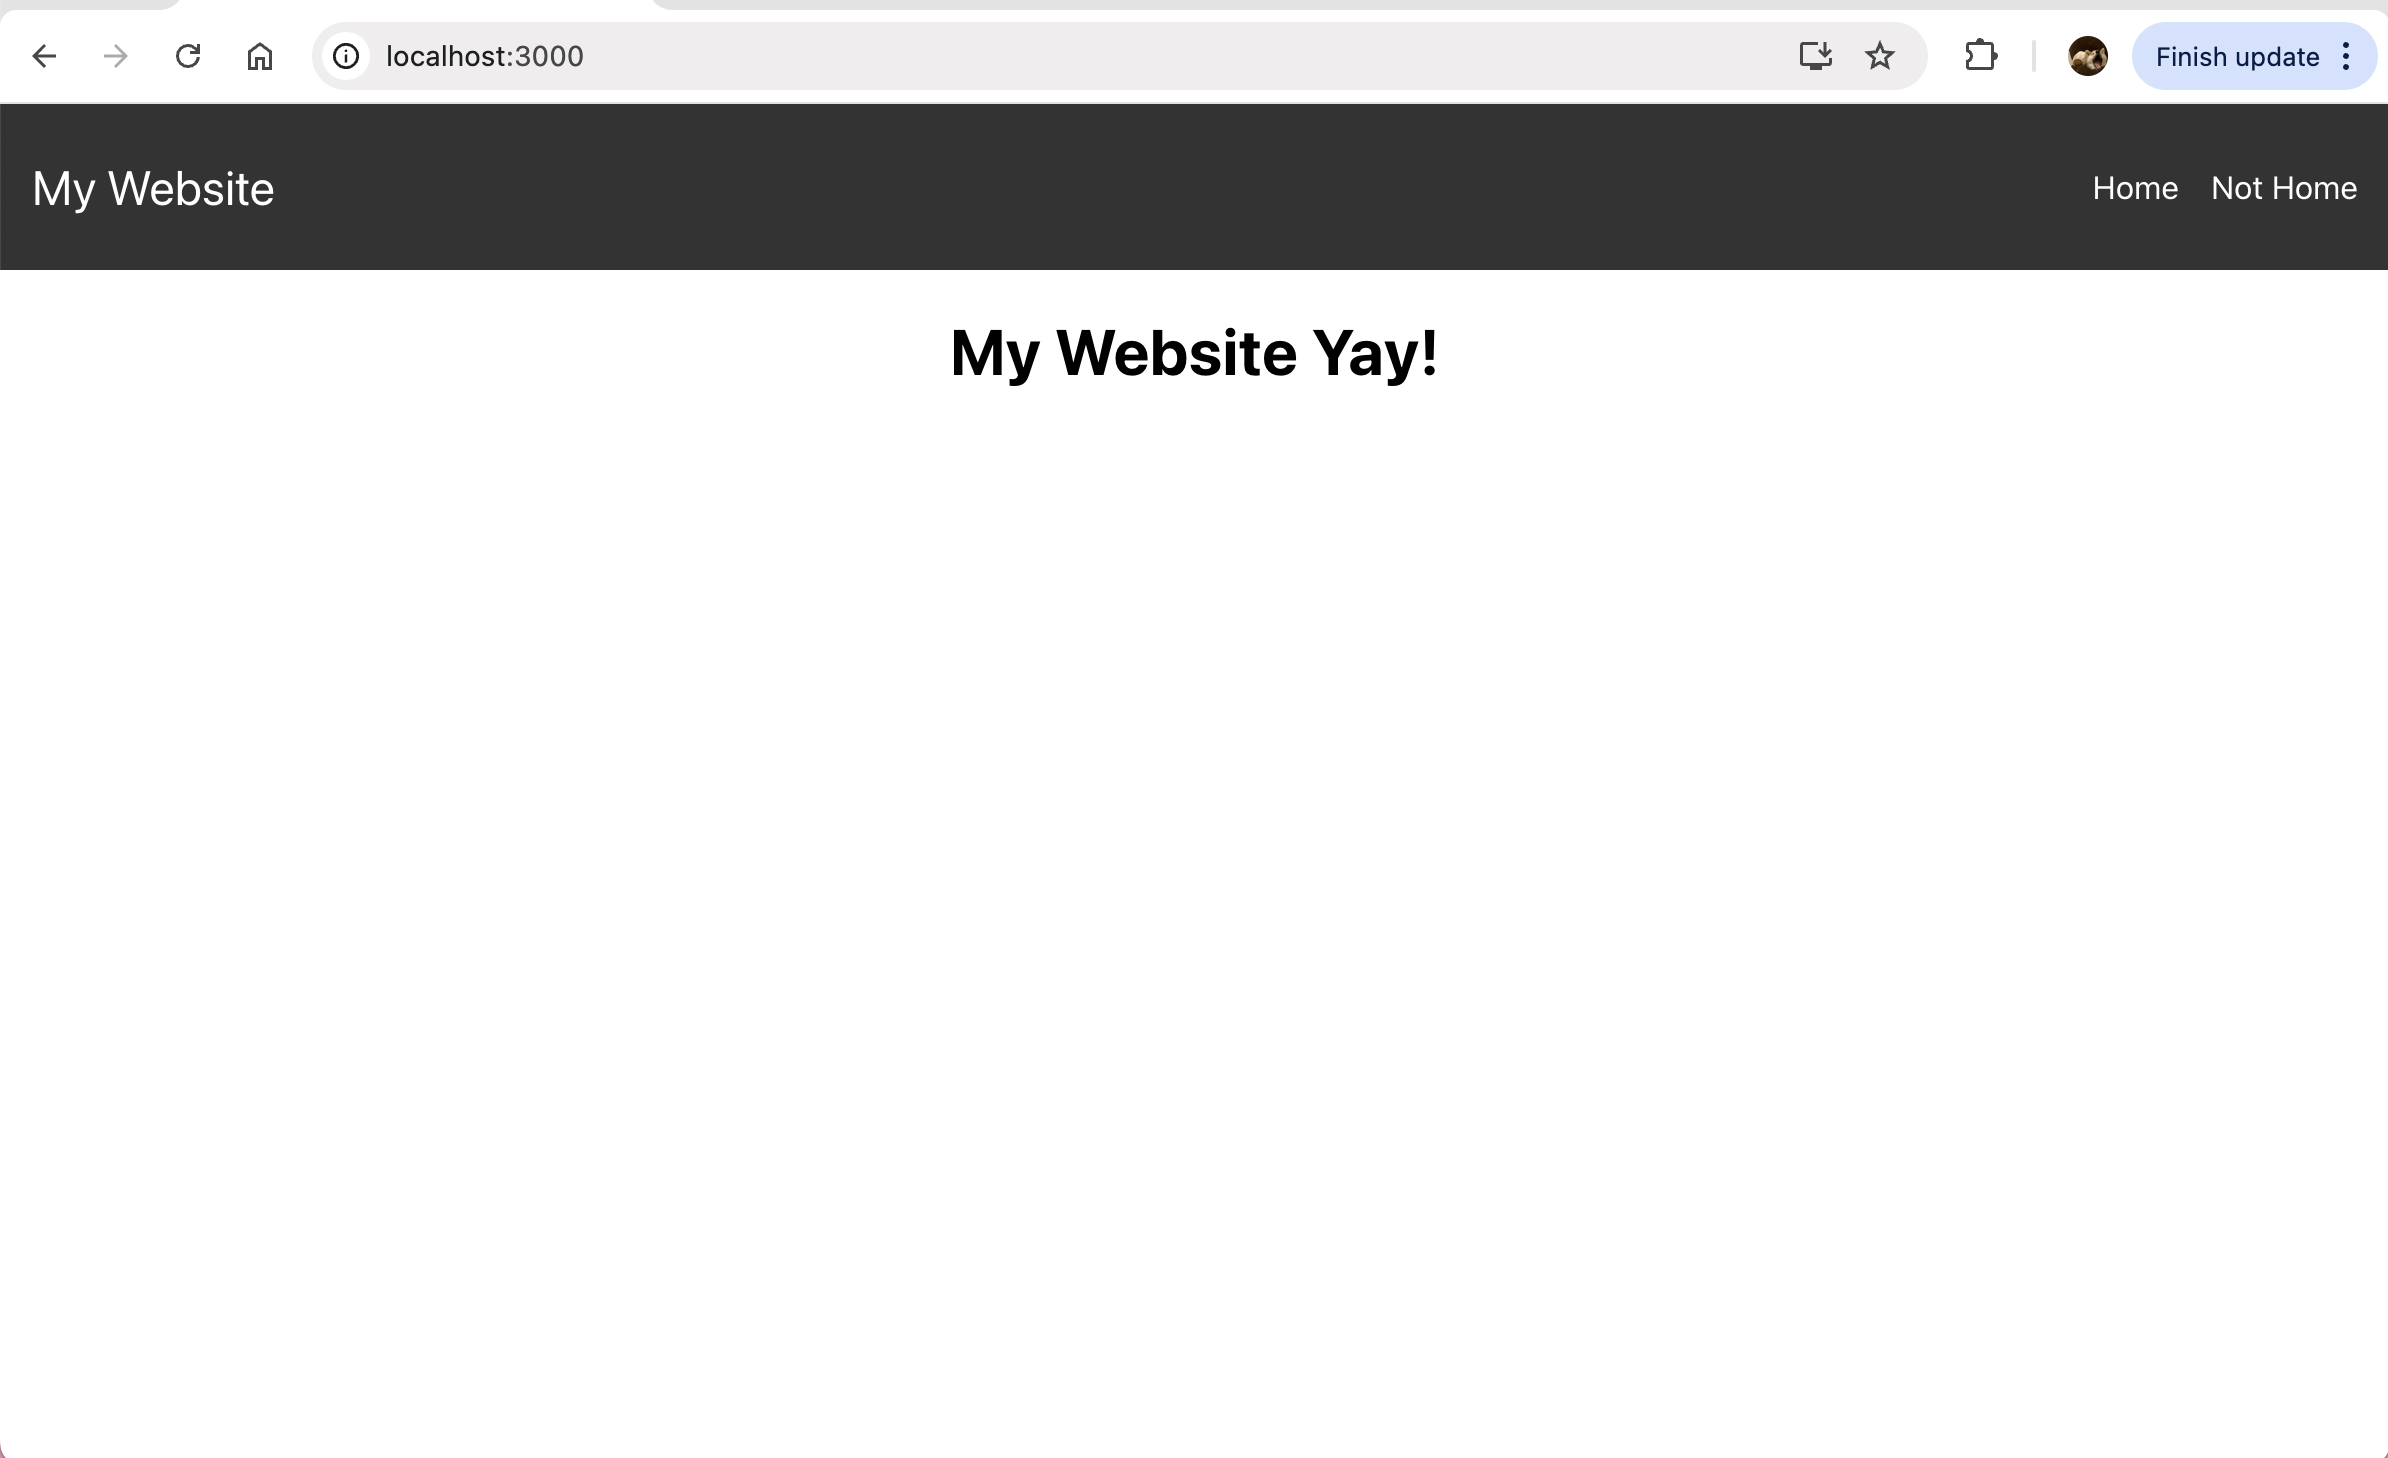
We will create a basic react website that looks like this:
- Everything I’ve shown you must look like this (in terms of content, not design). But, feel free to add more pages/content if you�’d like, as long as you have this base down!

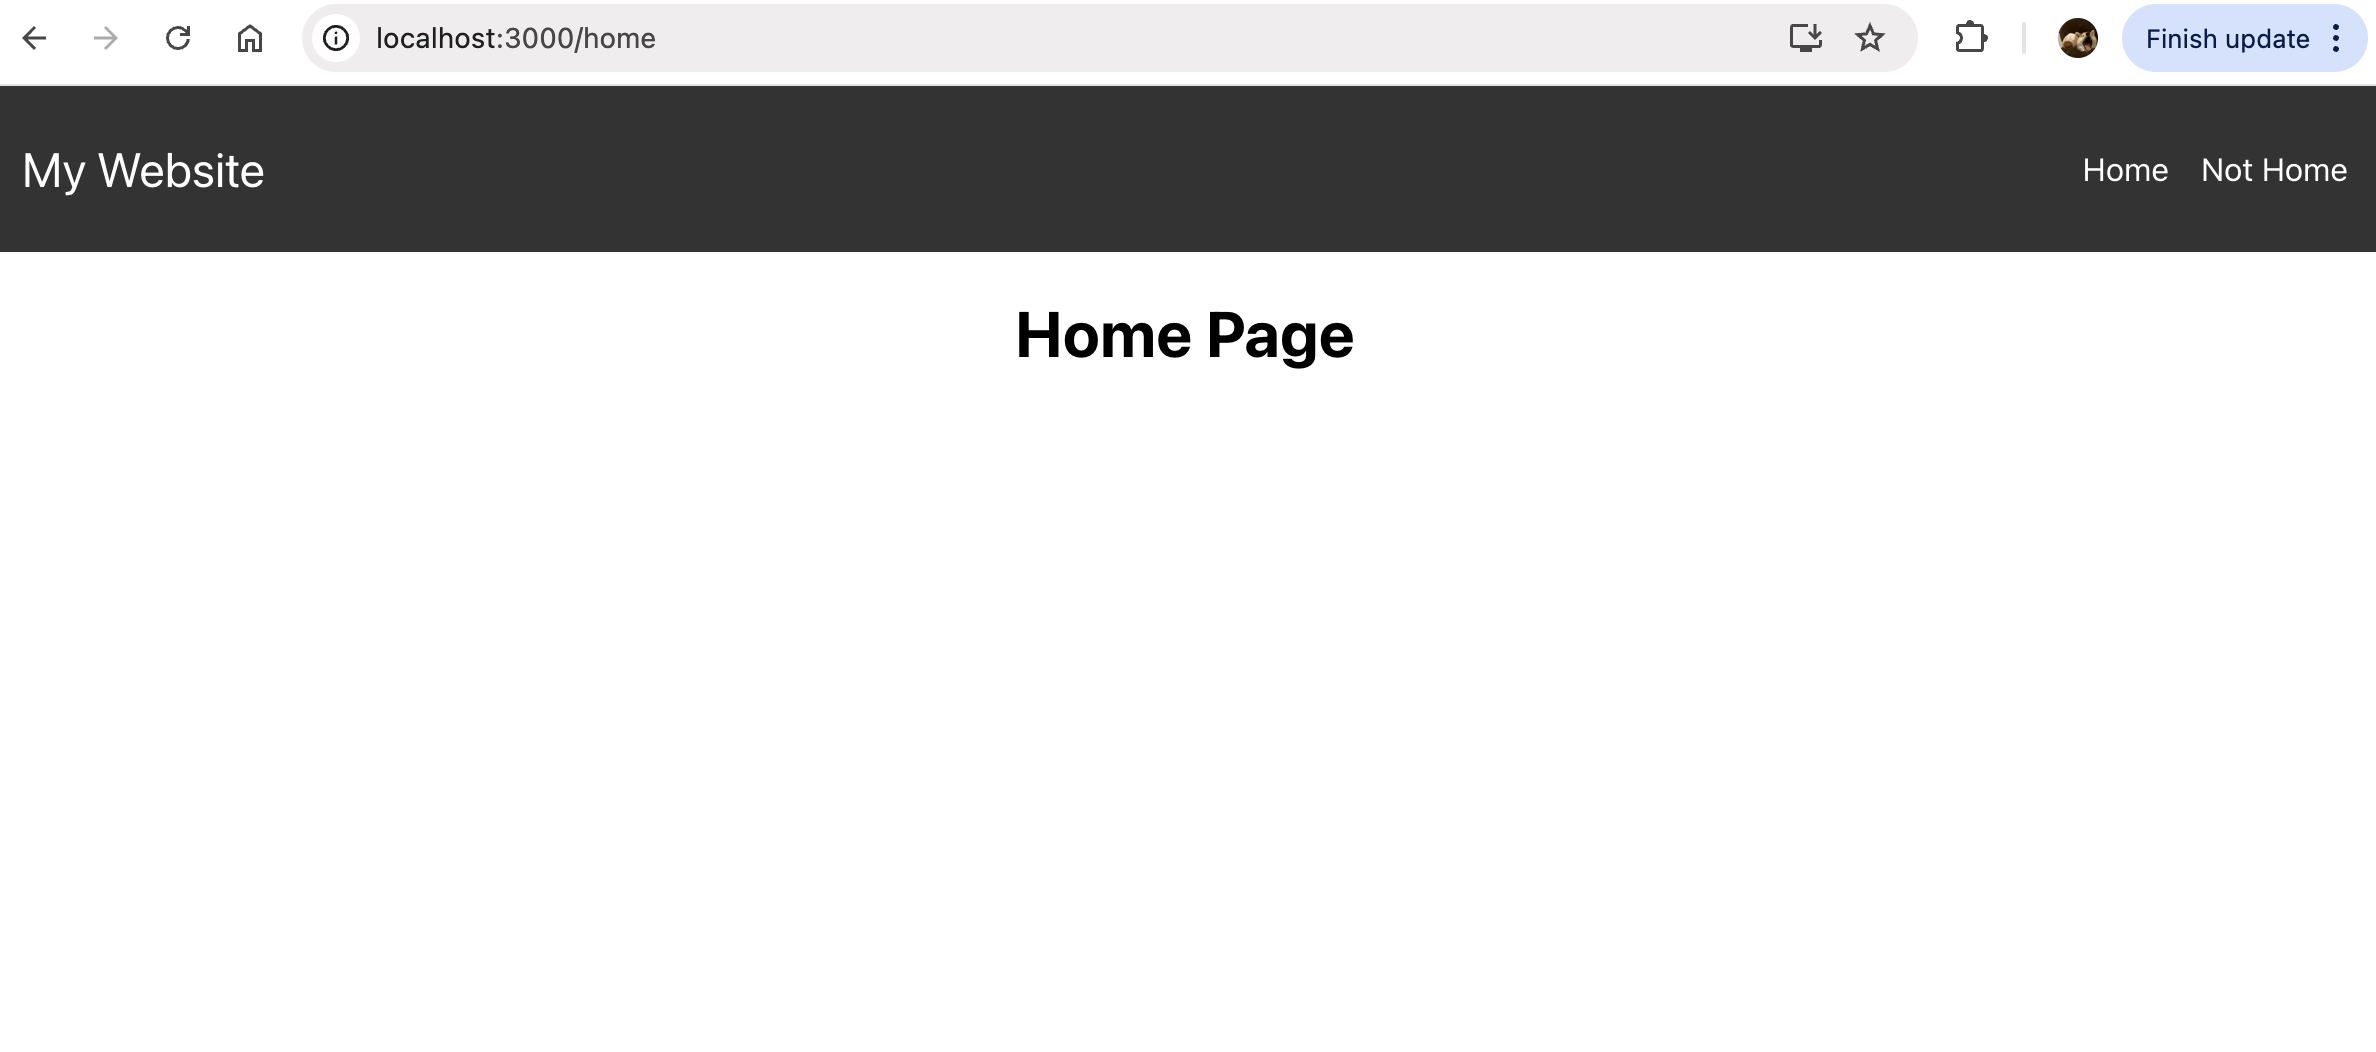
Clicking on Home will redirect you to:

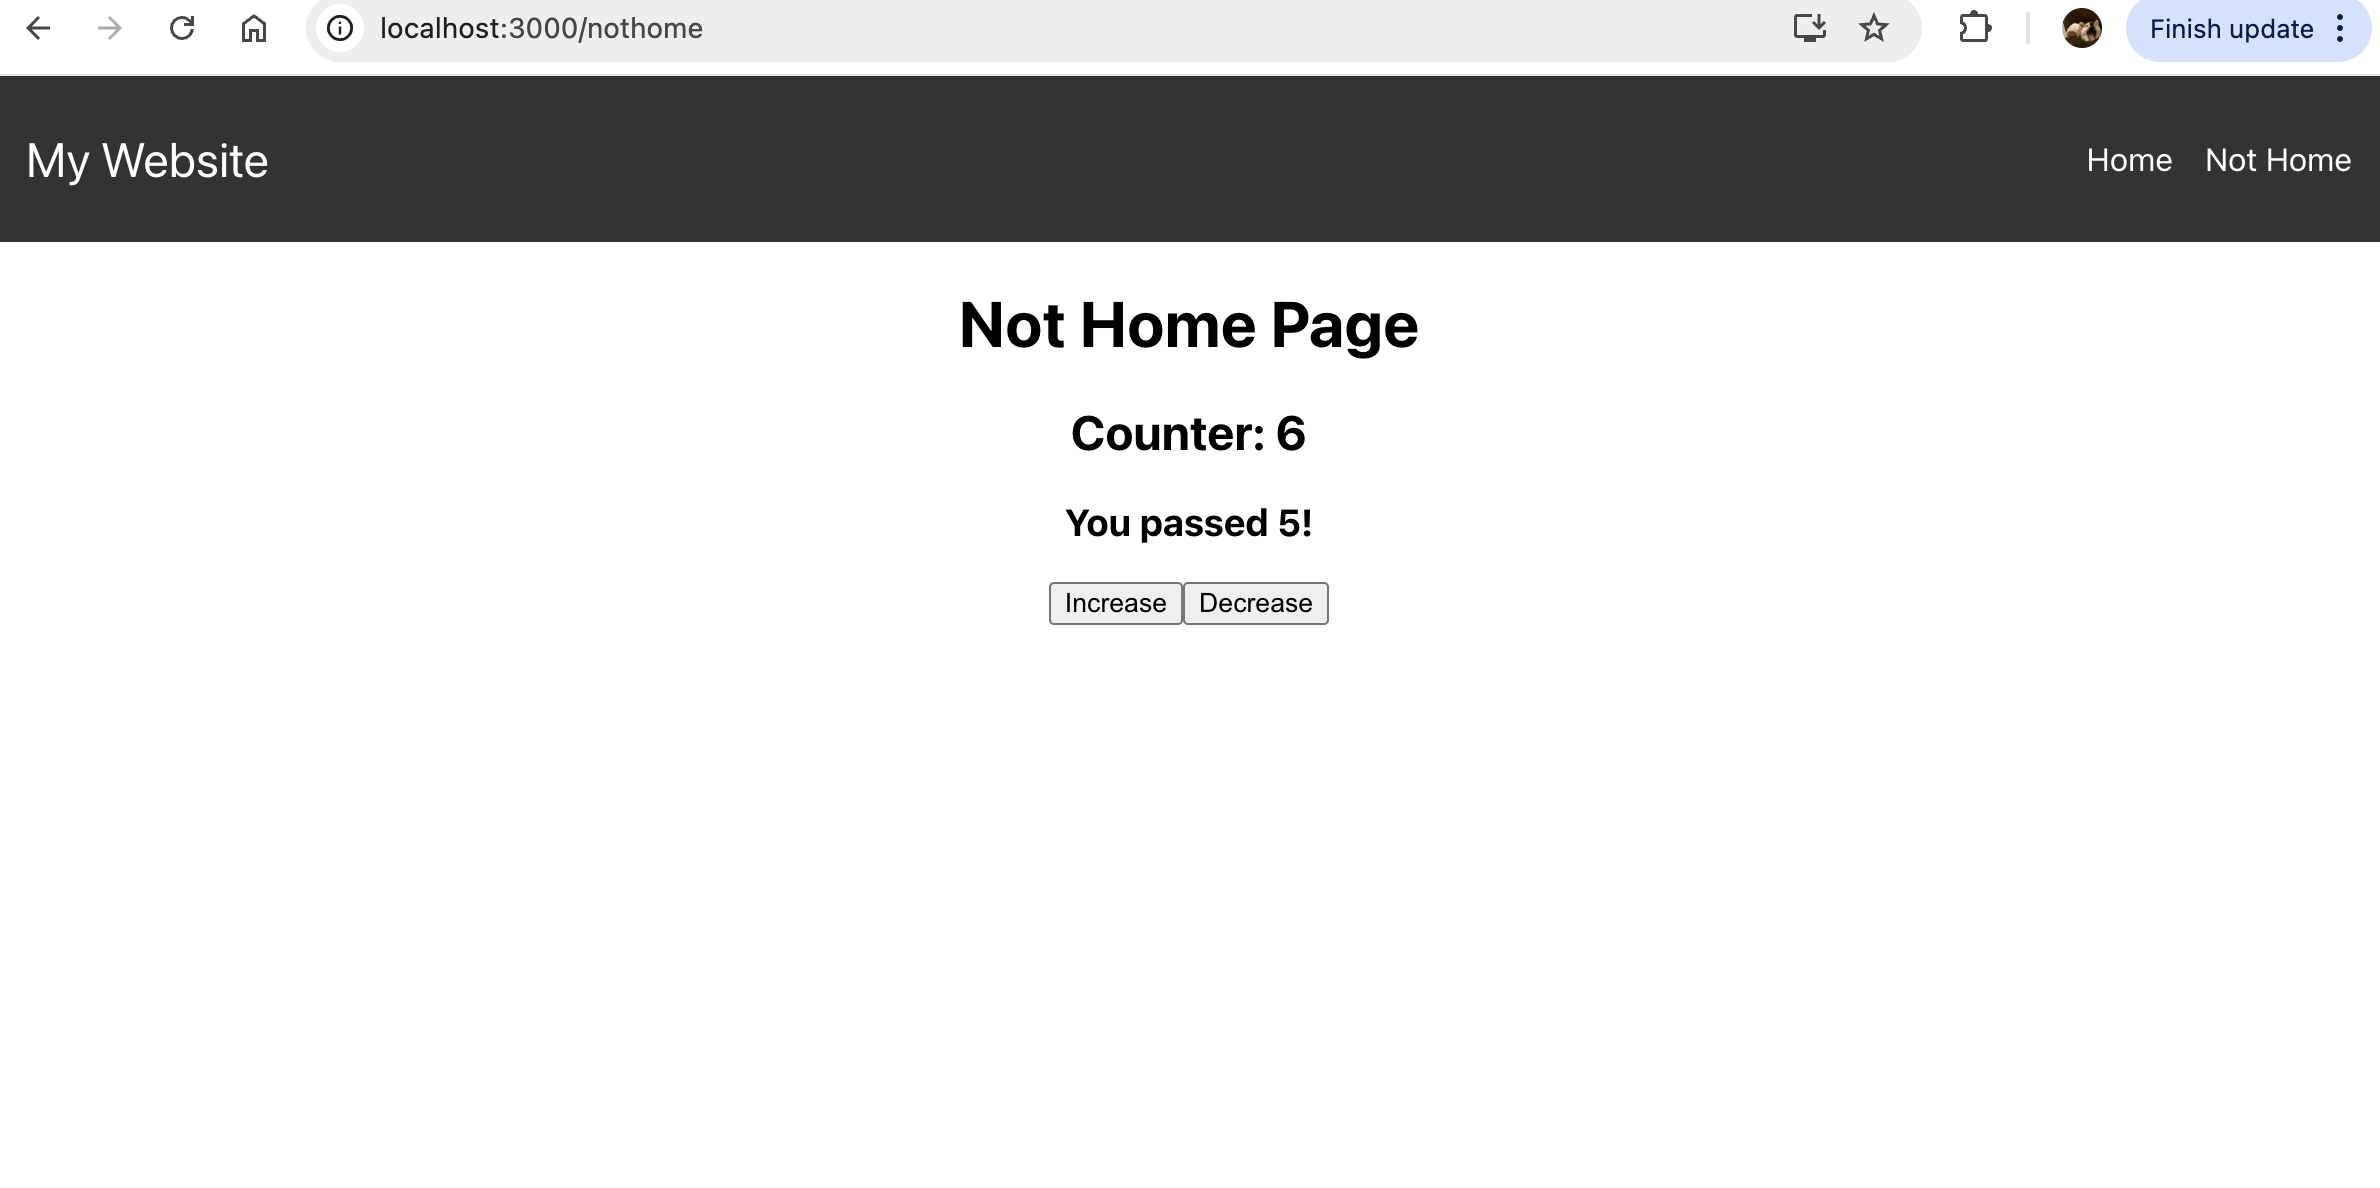
Clicking on Not Home will redirect you to:

- Clicking on Increase, will increase the counter bar by +1, conversely, clicking on decrease will result in -1.
- if the counter display shows more than 5, there will be a pop up comment on the bottom that says: You passed 5! (this will only show if its 5+).
Part 1: Setting Up a React Project
-
Create Your Project Folder in your preferred editor (such as VS code):
- Use
npxto create a new React project. It sets up everything you need, including the basic folder structure and initial files.- Navigate to the project directory in your terminal.
- Use
-
Running the React Project:
- Start your React app locally. You’ll see the default welcome page in the browser at
http://localhost:3000. Feel free to delete the default content to start fresh. - Every time you make changes to your code, the browser will automatically reload to reflect your changes. This makes development easier since you can see changes instantly.
- Start your React app locally. You’ll see the default welcome page in the browser at
-
Stop and Restart the Server:
- If you need to stop the server at any time, press
Ctrl + Cin your terminal where the project is running.
- If you need to stop the server at any time, press
-
Install React Router:
- Install
react-router-domso you can add routing to your app.- React Router is not included in the default project, so we need to install it. This will allow us to create navigation between different pages in our app.
- Install
-
Verify Installation: After installation, check your
package.jsonfile underdependenciesto make surereact-router-domwas added. It should look like this:"dependencies": {
"react": "^17.0.2",
"react-dom": "^17.0.2",
"react-router-dom": "^6.0.0",
"react-scripts": "4.0.3"
}
Part 2: Creating Basic Components
-
Organize Folders:
- Inside the
srcfolder, create two subfolders:components(for reusable components) andpages(for different pages of your app). - Why are we doing this?
- Breaking your app into reusable components is a key part of React. It allows you to keep your code organized and modular. Components are self-contained and can be reused in different parts of your app.
- Inside the
-
Create a Navbar Component:
- In the
componentsfolder, create aNavbarfolder with two files:Navbar.jsandNavbar.css. - Write the logic for the
Navbar.jscomponent that includes links to different pages and style it usingNavbar.css.- css does not need to be exact!
Here’s some starter code to help you out:
//import React
// Import Link to navigate between pages
// Import the CSS file for styling

const Navbar = () => {
  return (
   // fill in the rest here!
   // add Home and NotHome, including links (after routing established)
};

// Always export your components so they can be imported in other files - In the
-
Add the Navbar to App.js:
- Open
App.jsand import theNavbarcomponent so it appears on every page of the app.
- Open
-
Wrap App in Router:
- In
index.js, wrap theAppcomponent withRouterso routing works across the app.
Starter code to help you out:
//import required here

ReactDOM.render(
//... router here, etc.
);- NOTE: This was not done in Lecture 10, where the router was only wrapped in the
App.jsfile. This is sufficient for smaller and simpler apps. However, placing the Router in index.js gives you more flexibility to wrap additional components around the entire app, such as global providers (e.g., context providers or Redux store providers) while still having routing available throughout. This is a common pattern in larger apps. - If you are struggling on step 4, you can feel free to follow Lecture 9 and skip this step. But, you will need to learn this eventually.
- In
-
Set Up Routes in App.js:
- Add routes for
HomeandNotHomepages inApp.js. Define the paths and link them to the correct components.- Home path = /home
- NotHome path = /nothome
- Add routes for
-
Create Home and NotHome Pages:
- In the
pagesfolder, create folders forHomeandNotHome. In each folder, create a simple component that displays a title below the navbar.
- In the
Part 3: Using React Hooks
Now that you have the basic app structure, let's dive into React Hooks! Hooks let you manage state and side effects in functional components.
- useState Hook:
useStatehelps manage dynamic values like a counter or form inputs that need to change as the user interacts with your app.- In the
NotHomecomponent, implement a counter usinguseState. Add buttons to increase or decrease the counter.
- useEffect Hook:
useEffectallows you to perform side effects in your component, such as fetching data or updating the document title. It runs after the component renders.- Add logic to update the counter. Use
useEffectto reset the counter if it goes below 0 and show the message “You passed 5!” if it passes 5.
Part 4: Submitting Your Assignment
When submitting your React project to Gradescope, please follow the instructions below carefully so we can grade your work efficiently.
📝 What to Include:
src/– Your main React code lives here.public/– The static files likeindex.htmland favicon.package.json– Lists the dependencies needed for your app.package-lock.json– Locks versions of packages used..gitignore– To show you understood how to use it (see next section!)
You can submit this as a zipped
.zipfile or upload each file/folder on Gradescope.
❌ What Not to Include:
node_modules/– It contains thousands of downloaded files and bloats your project.
It also causes Gradescope to lag or error out, which is a pain for everyone.
Why don’t we want it? Because if we have the
package.json, we can just runnpm installoryarn installto regeneratenode_modules.
Part 5: How to use gitignore
So you're wondering…
How do I ignore the node_modules folder so it doesn’t get pushed to GitHub or uploaded to Gradescope?
How do I ignore any file in general when uploading to github?
Super easy — let’s walk through it.
Step 1: Create a .gitignore File
In the root directory of your project, create a file called .gitignore, unless it already exists.
This literally means "git, ignore this!"
Step 2: Add node_modules to It
Open the .gitignore file and type:
/node_modules
This tells Git to ignore the entire node_modules folder, which is auto-generated when you run:
npm install
or
yarn install
IMPORTANT: Use the Correct Path
You must refer to the correct relative path of node_modules in your .gitignore. Let’s go over two examples:
📁 Standard Setup
If you used Create React App (CRA) or a similar tool, your folder might look like this:
my-app/
├── node_modules/
├── public/
├── src/
├── .gitignore
├── package.json
└── ...
In this case, your .gitignore should include:
/node_modules
This means: "Ignore the
node_modulesfolder in the root directory."
📁 Complex Project Setup
What if your project is nested like this?
project-root/
├── .gitignore
├── apps/
│   └── frontend/
│       ├── node_modules/
│       └── package.json
Then your .gitignore should use:
/apps/frontend/node_modules
This means: "Ignore the
node_modulesfolder insideapps/frontend/."
TL;DR:
- Always use
.gitignoreto ignorenode_modules - Never push
node_modulesto GitHub or Gradescope — it’s huge, auto-generated, and breaks stuff - Use correct relative paths based on your folder structure
- For simplicity:
📁 Put.gitignorein the same folder as thenode_modulesyou want to ignore.
💬 Still not sure if it’s working? Run:
git statusand make sure
node_modulesdoesn’t show up in the list of files Git is tracking.
⚠️ For all future react usages, do NOT upload node_modules or else you will be penalized.